For the account owner and team administrators.
Getting started
Sign in, choose your language and find your way around the panel.
Where: Dashboard › My events
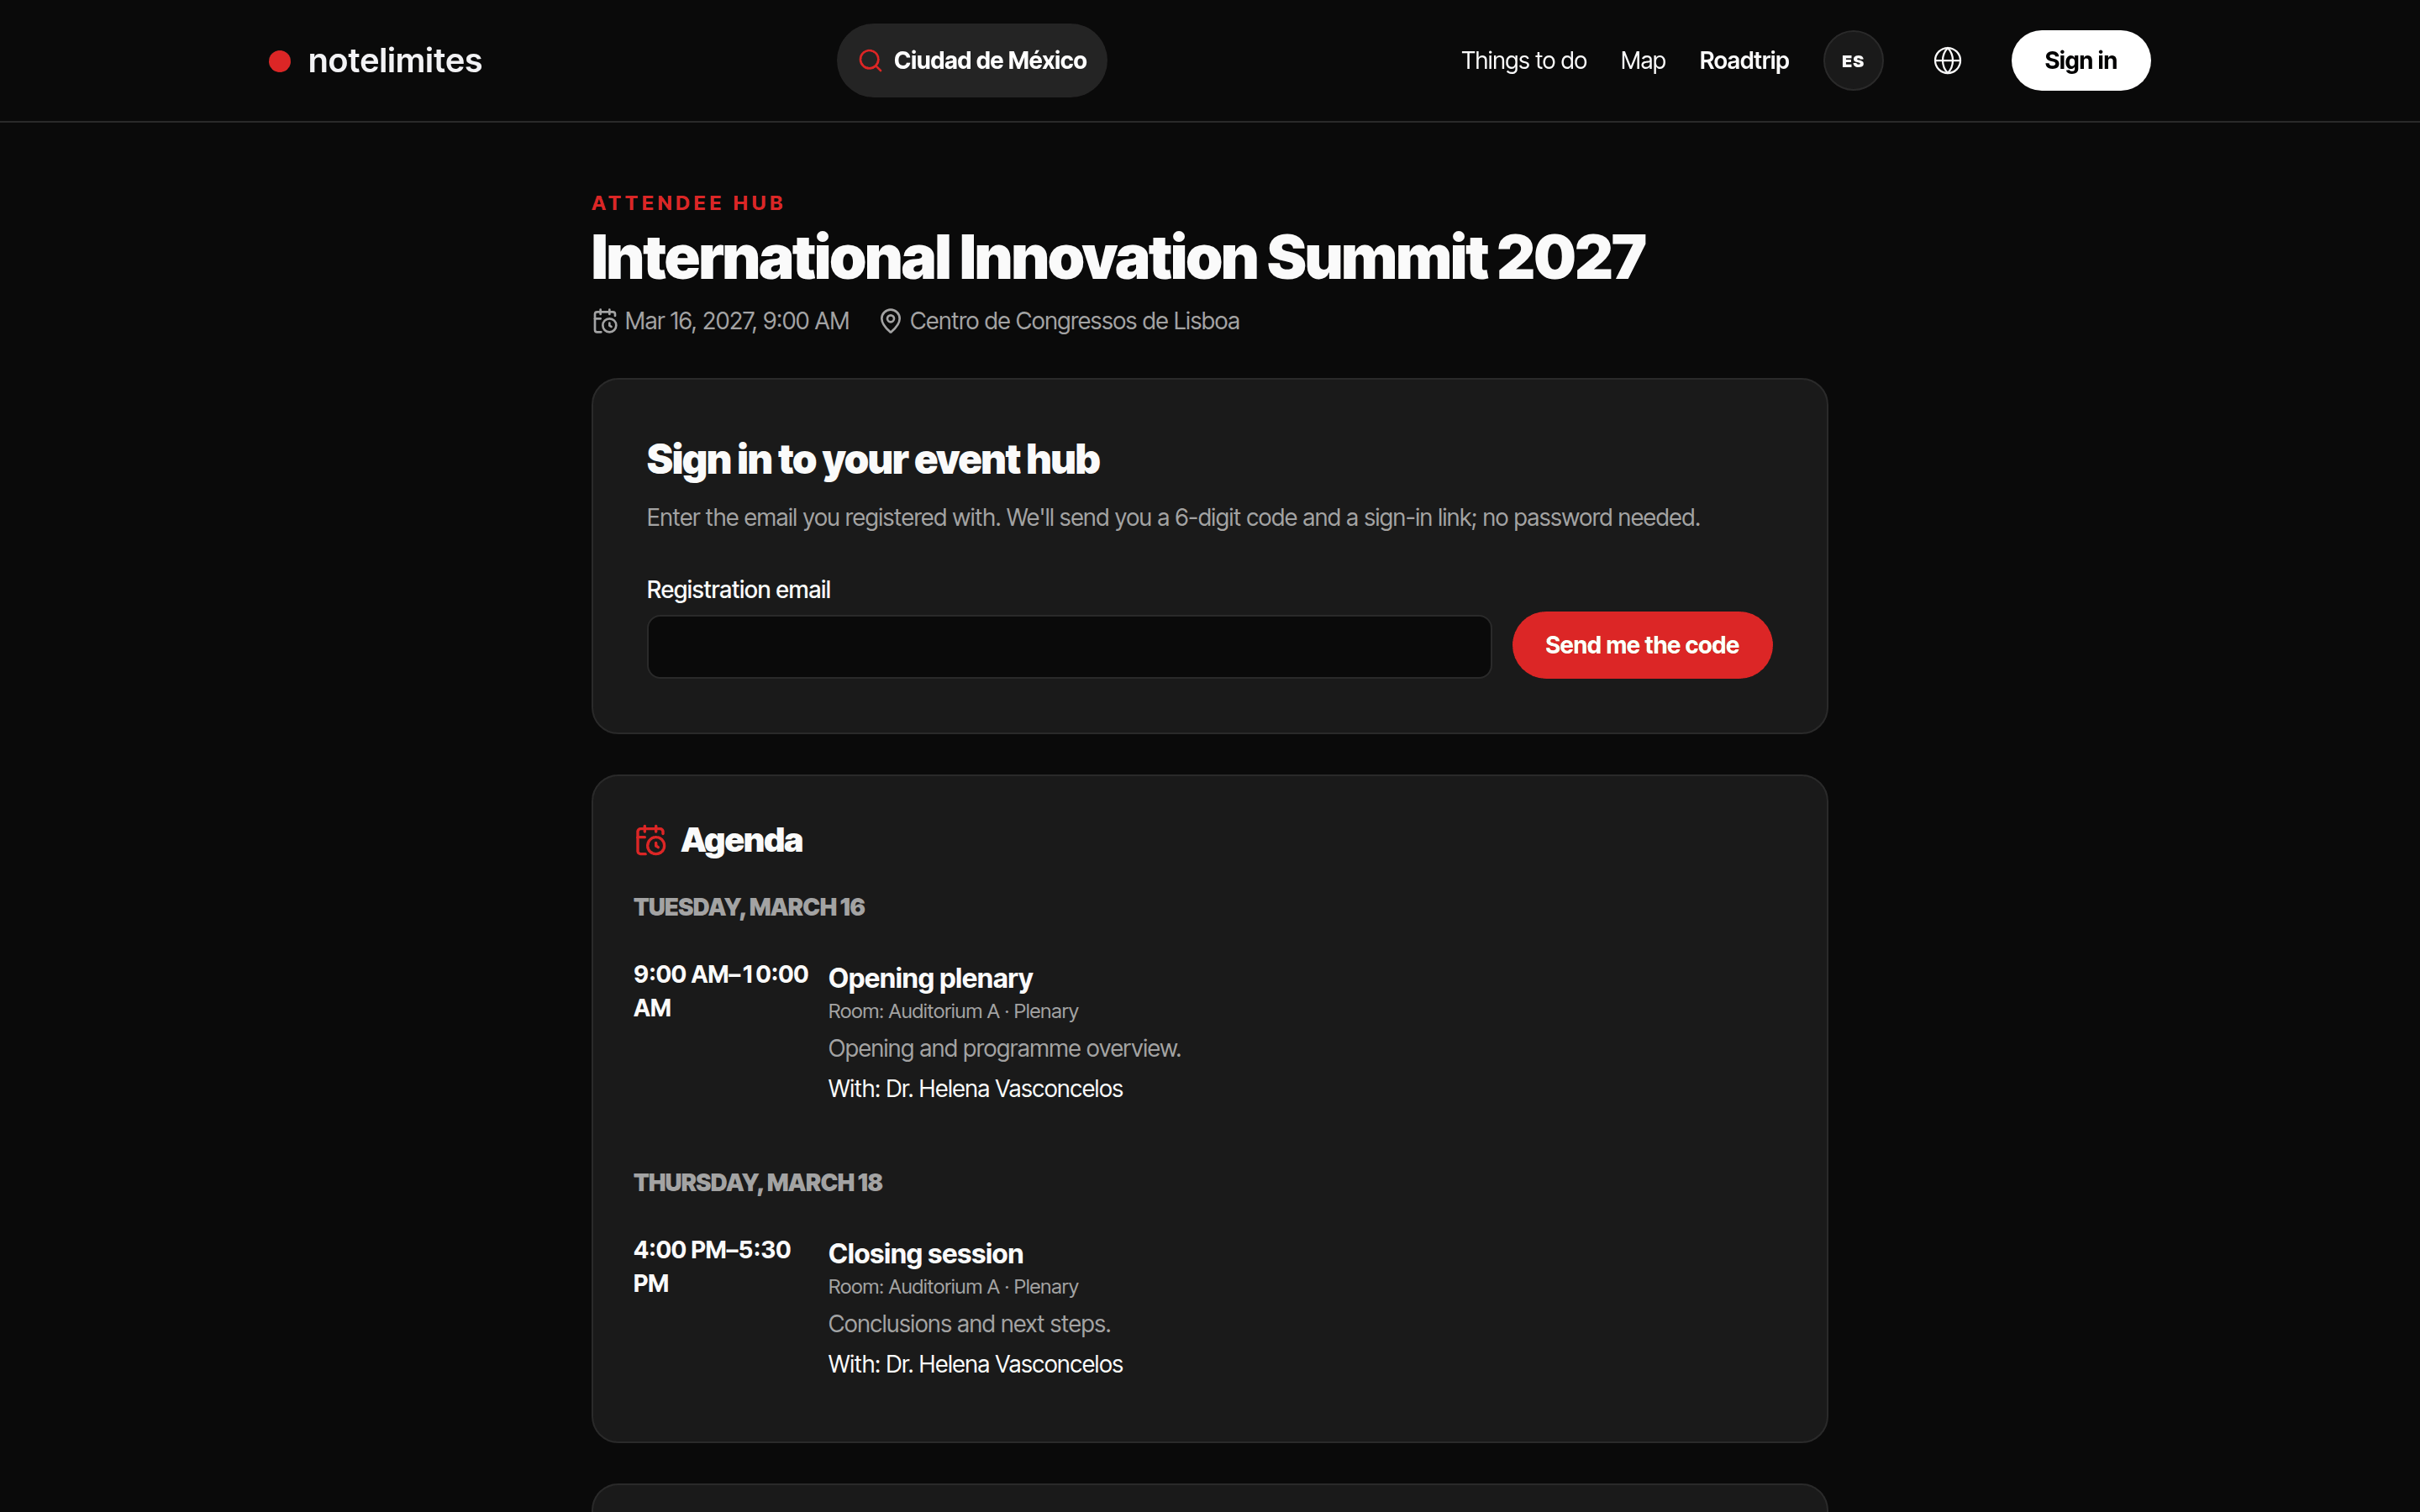
- Sign in with your email (you receive a sign-in link) or with Google.
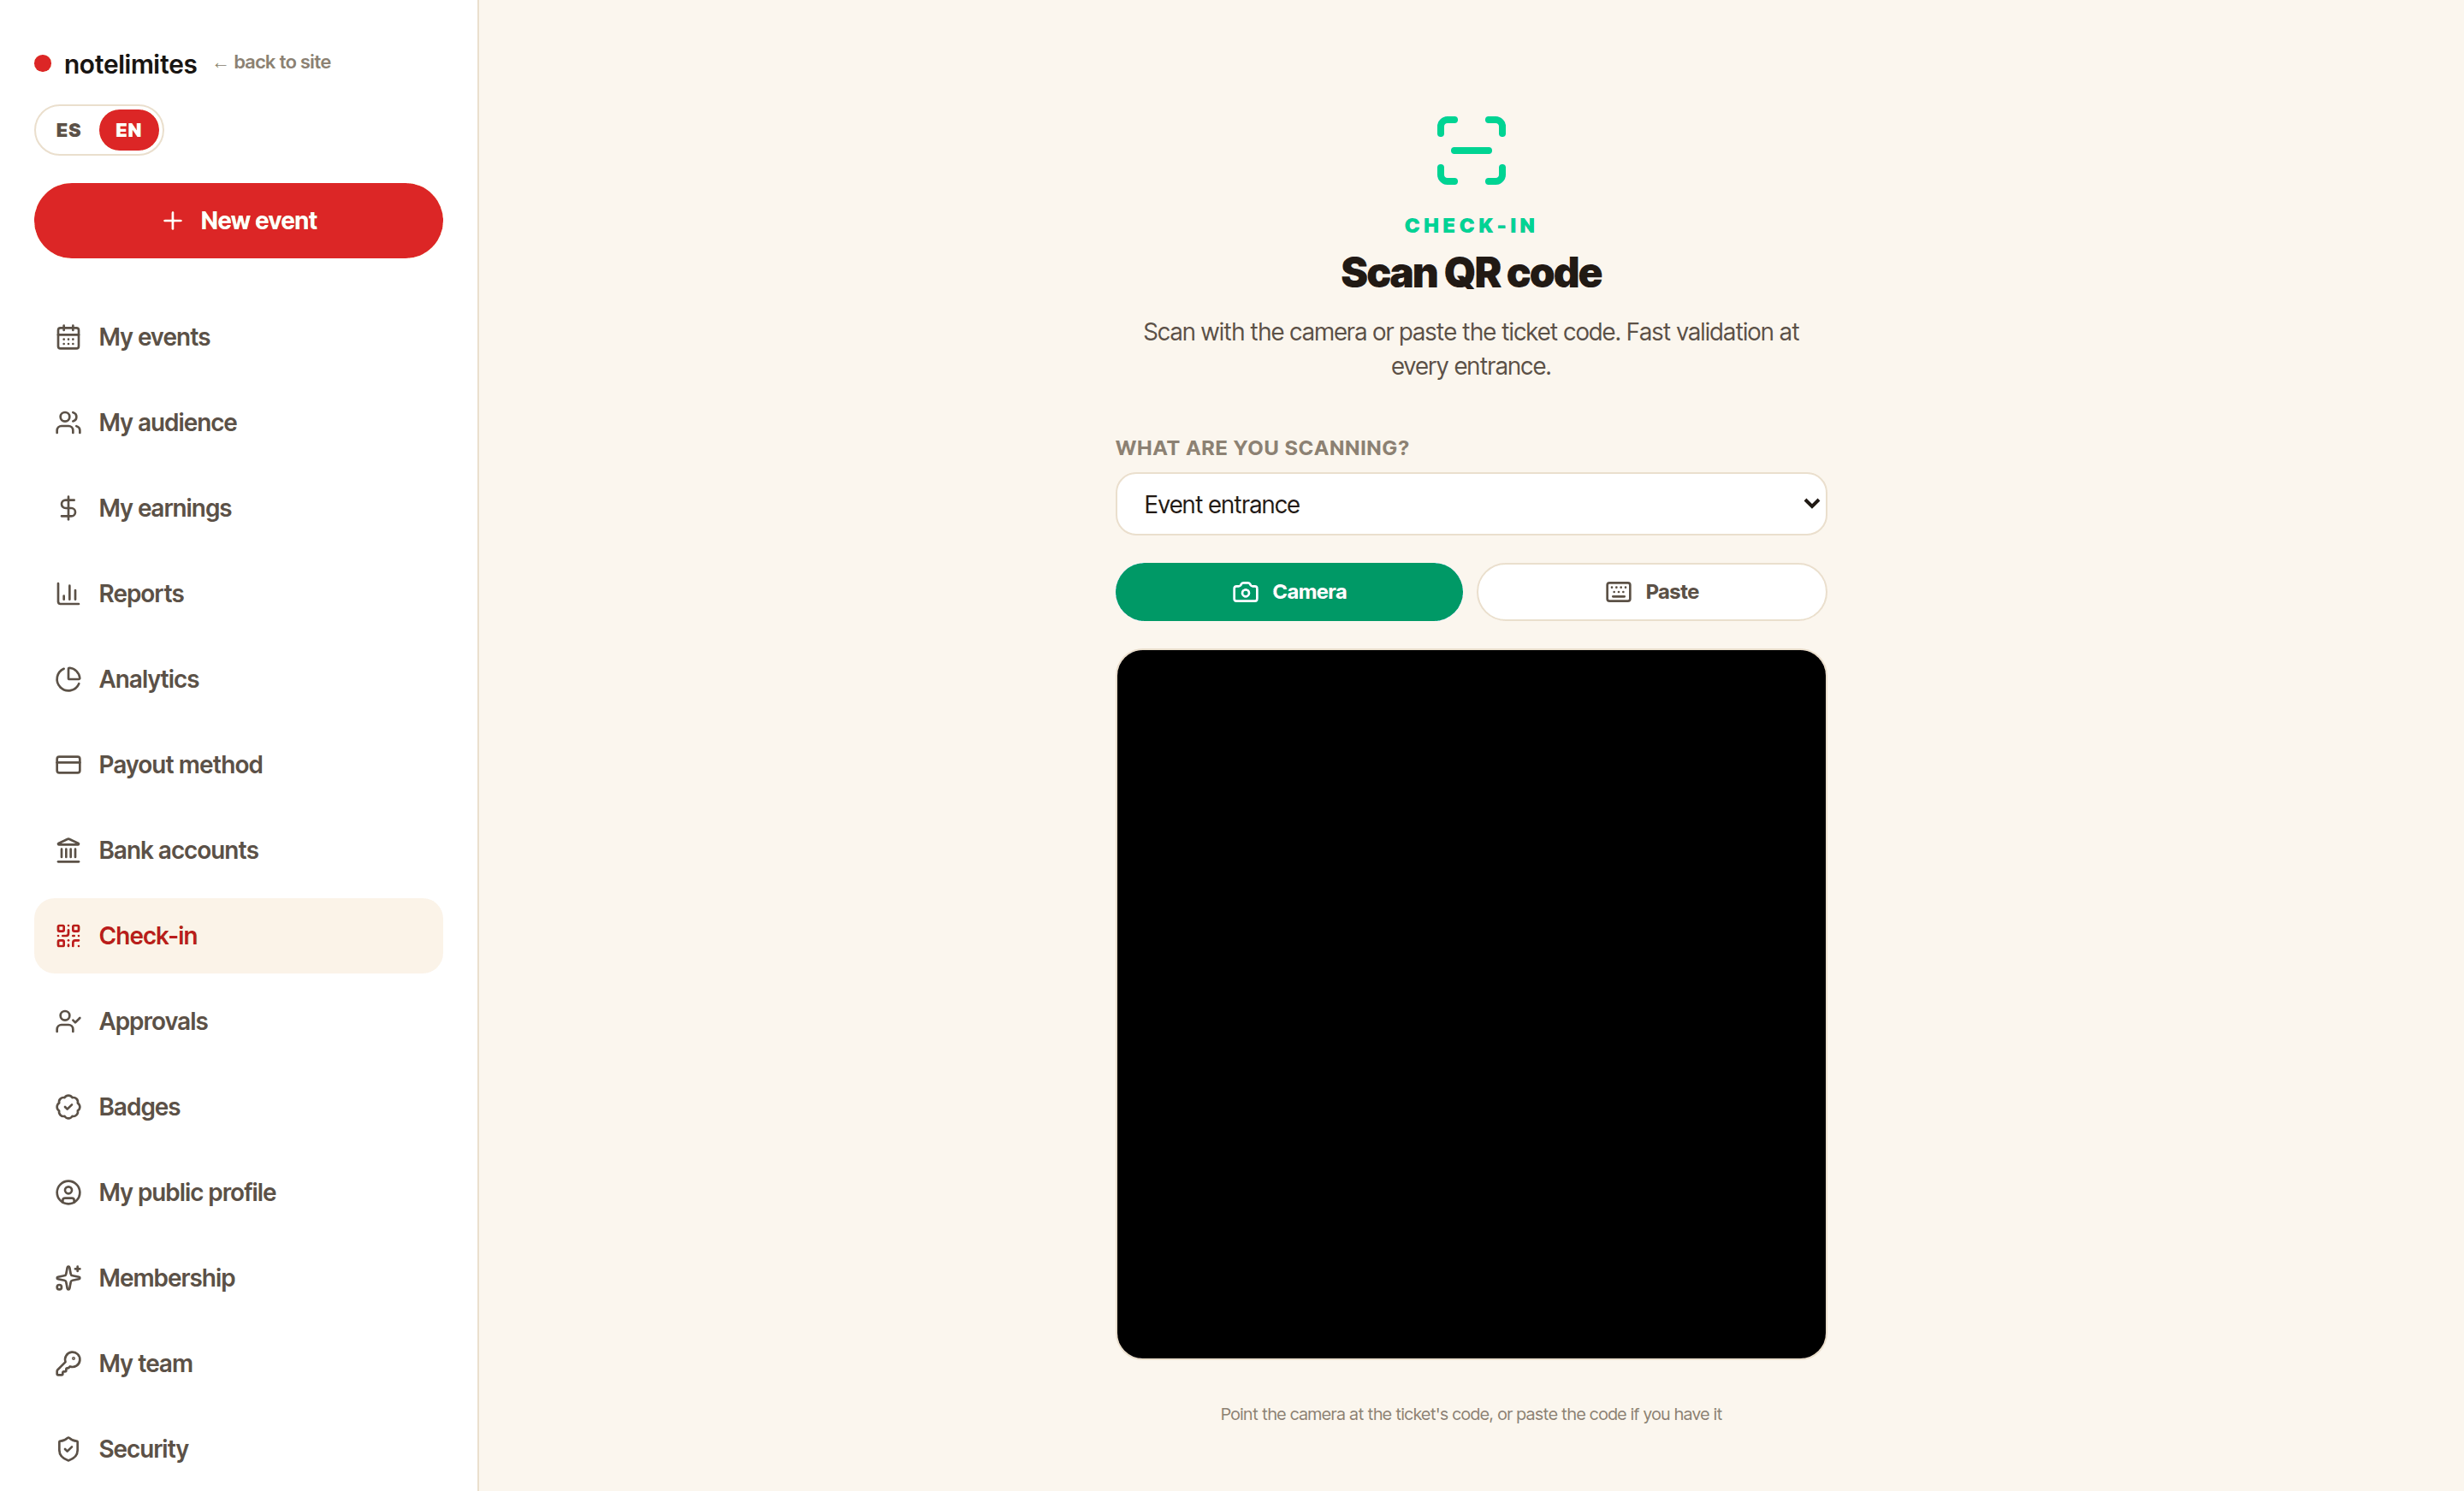
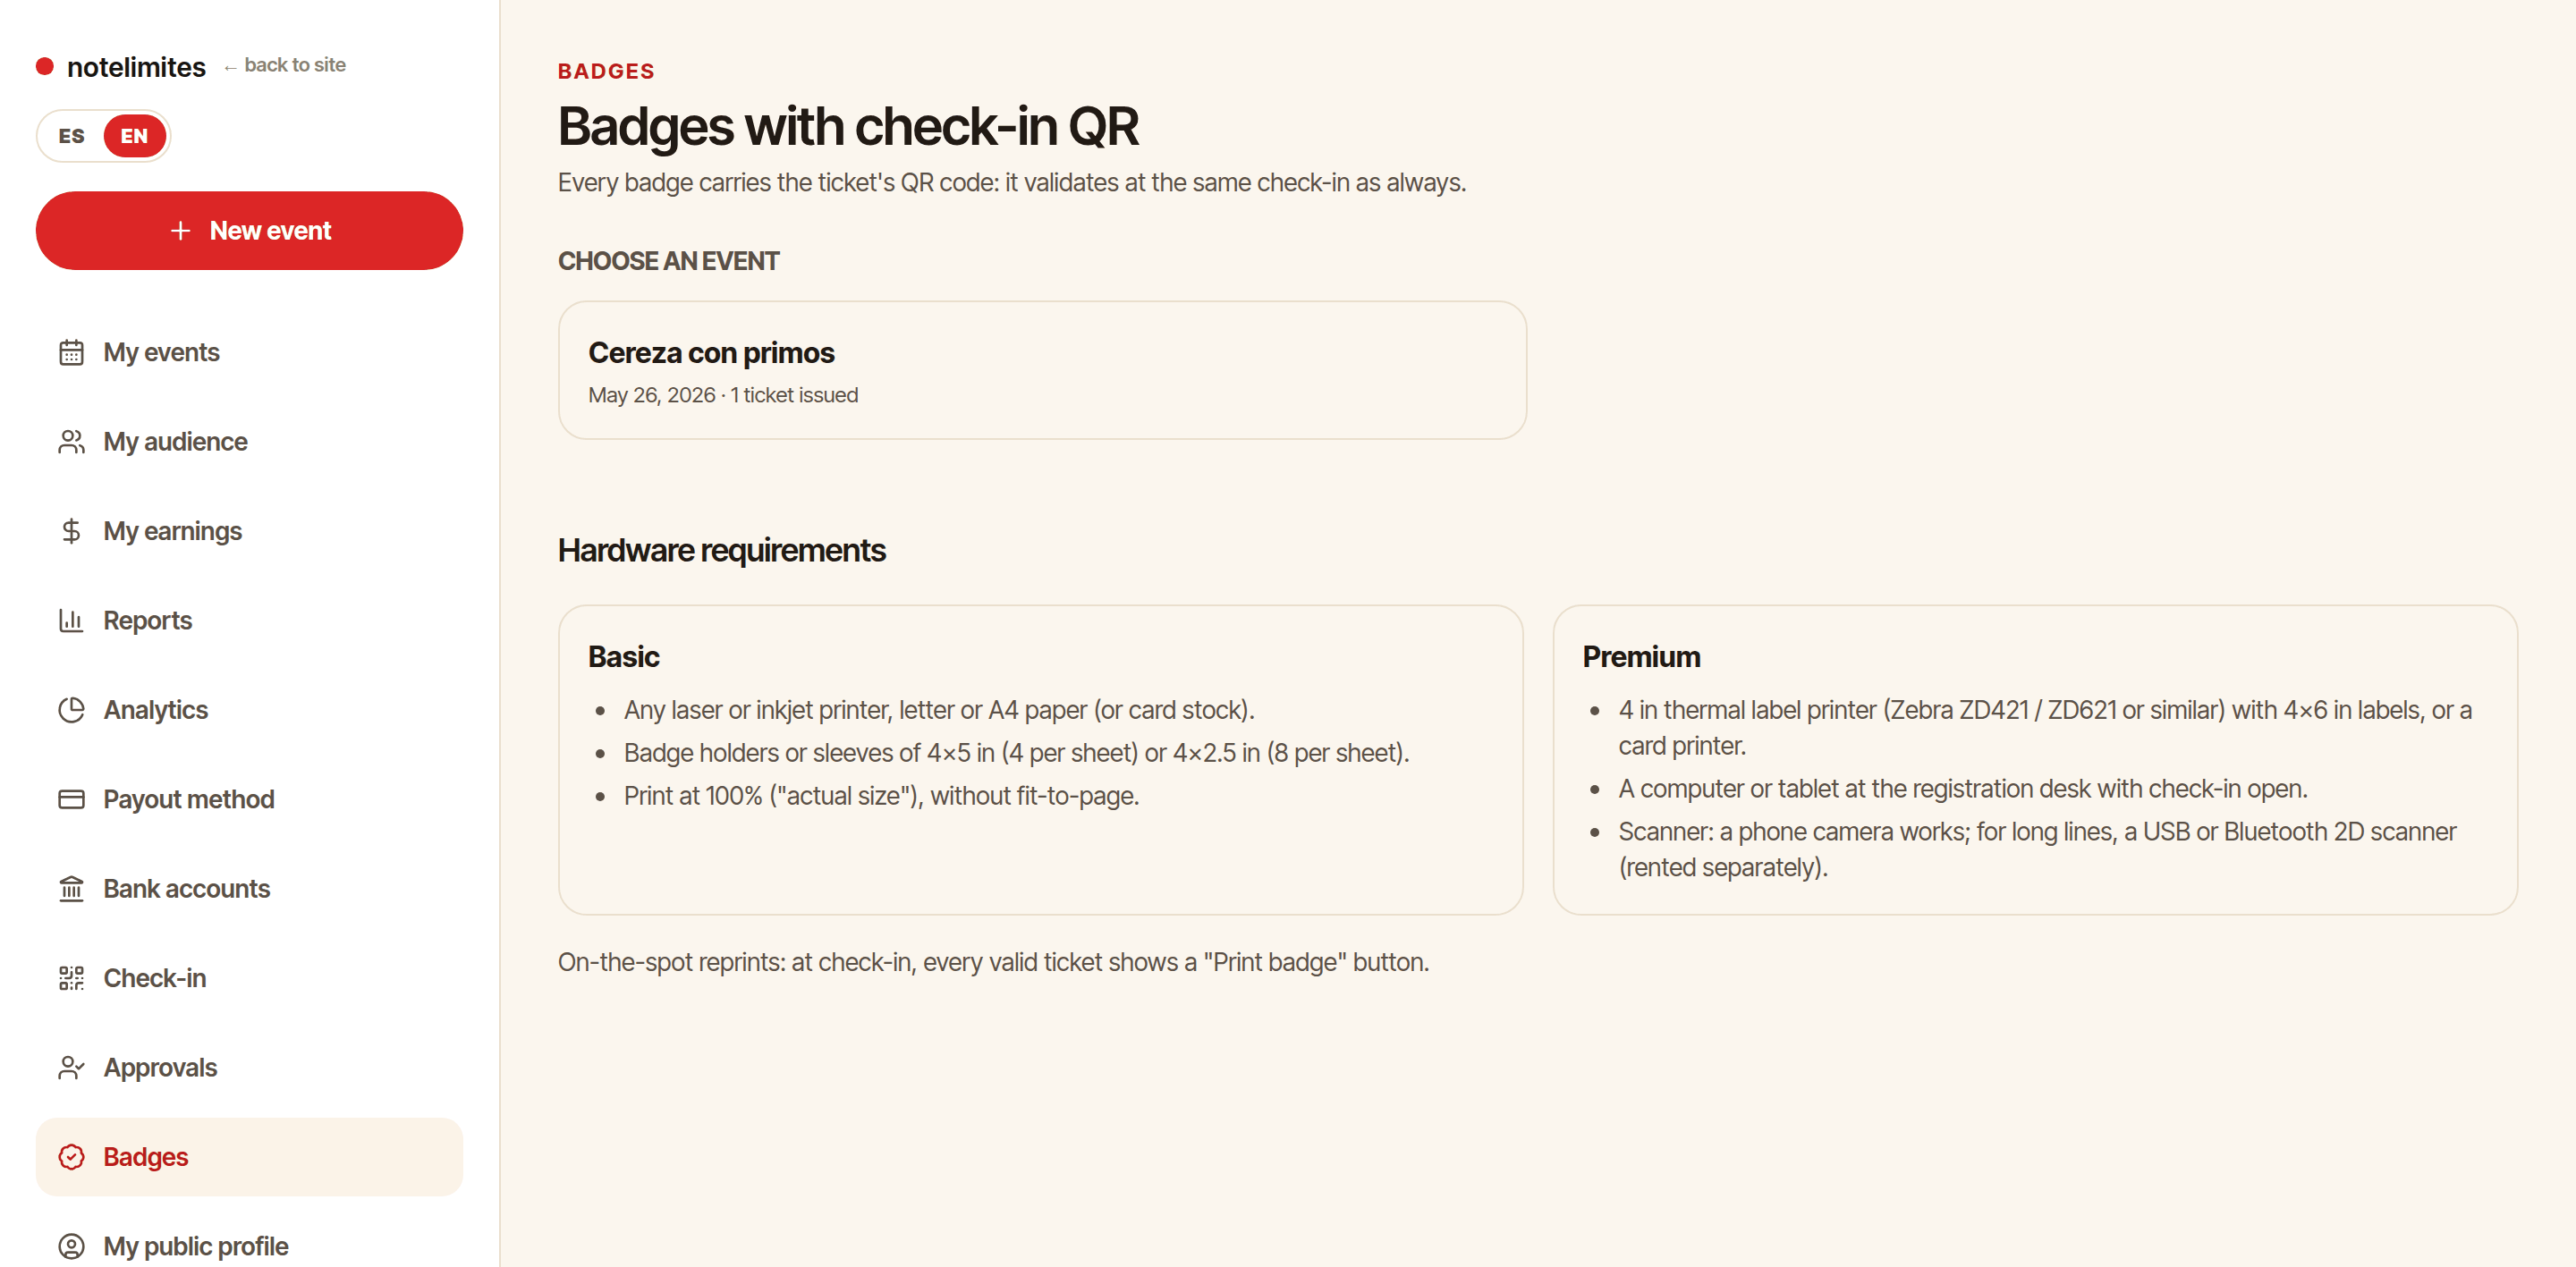
- The left menu has every section: events, audience, earnings, reports, payouts, check-in, approvals, badges, team, security, access log and support.
- Switch the panel language with the ES / EN selector; your choice is saved to your account.
- Every screen has a «Help for this screen» link in the menu that opens the matching article here.
Create and publish an event
Details, dates, venue, images and the event page.
Where: Dashboard › New event
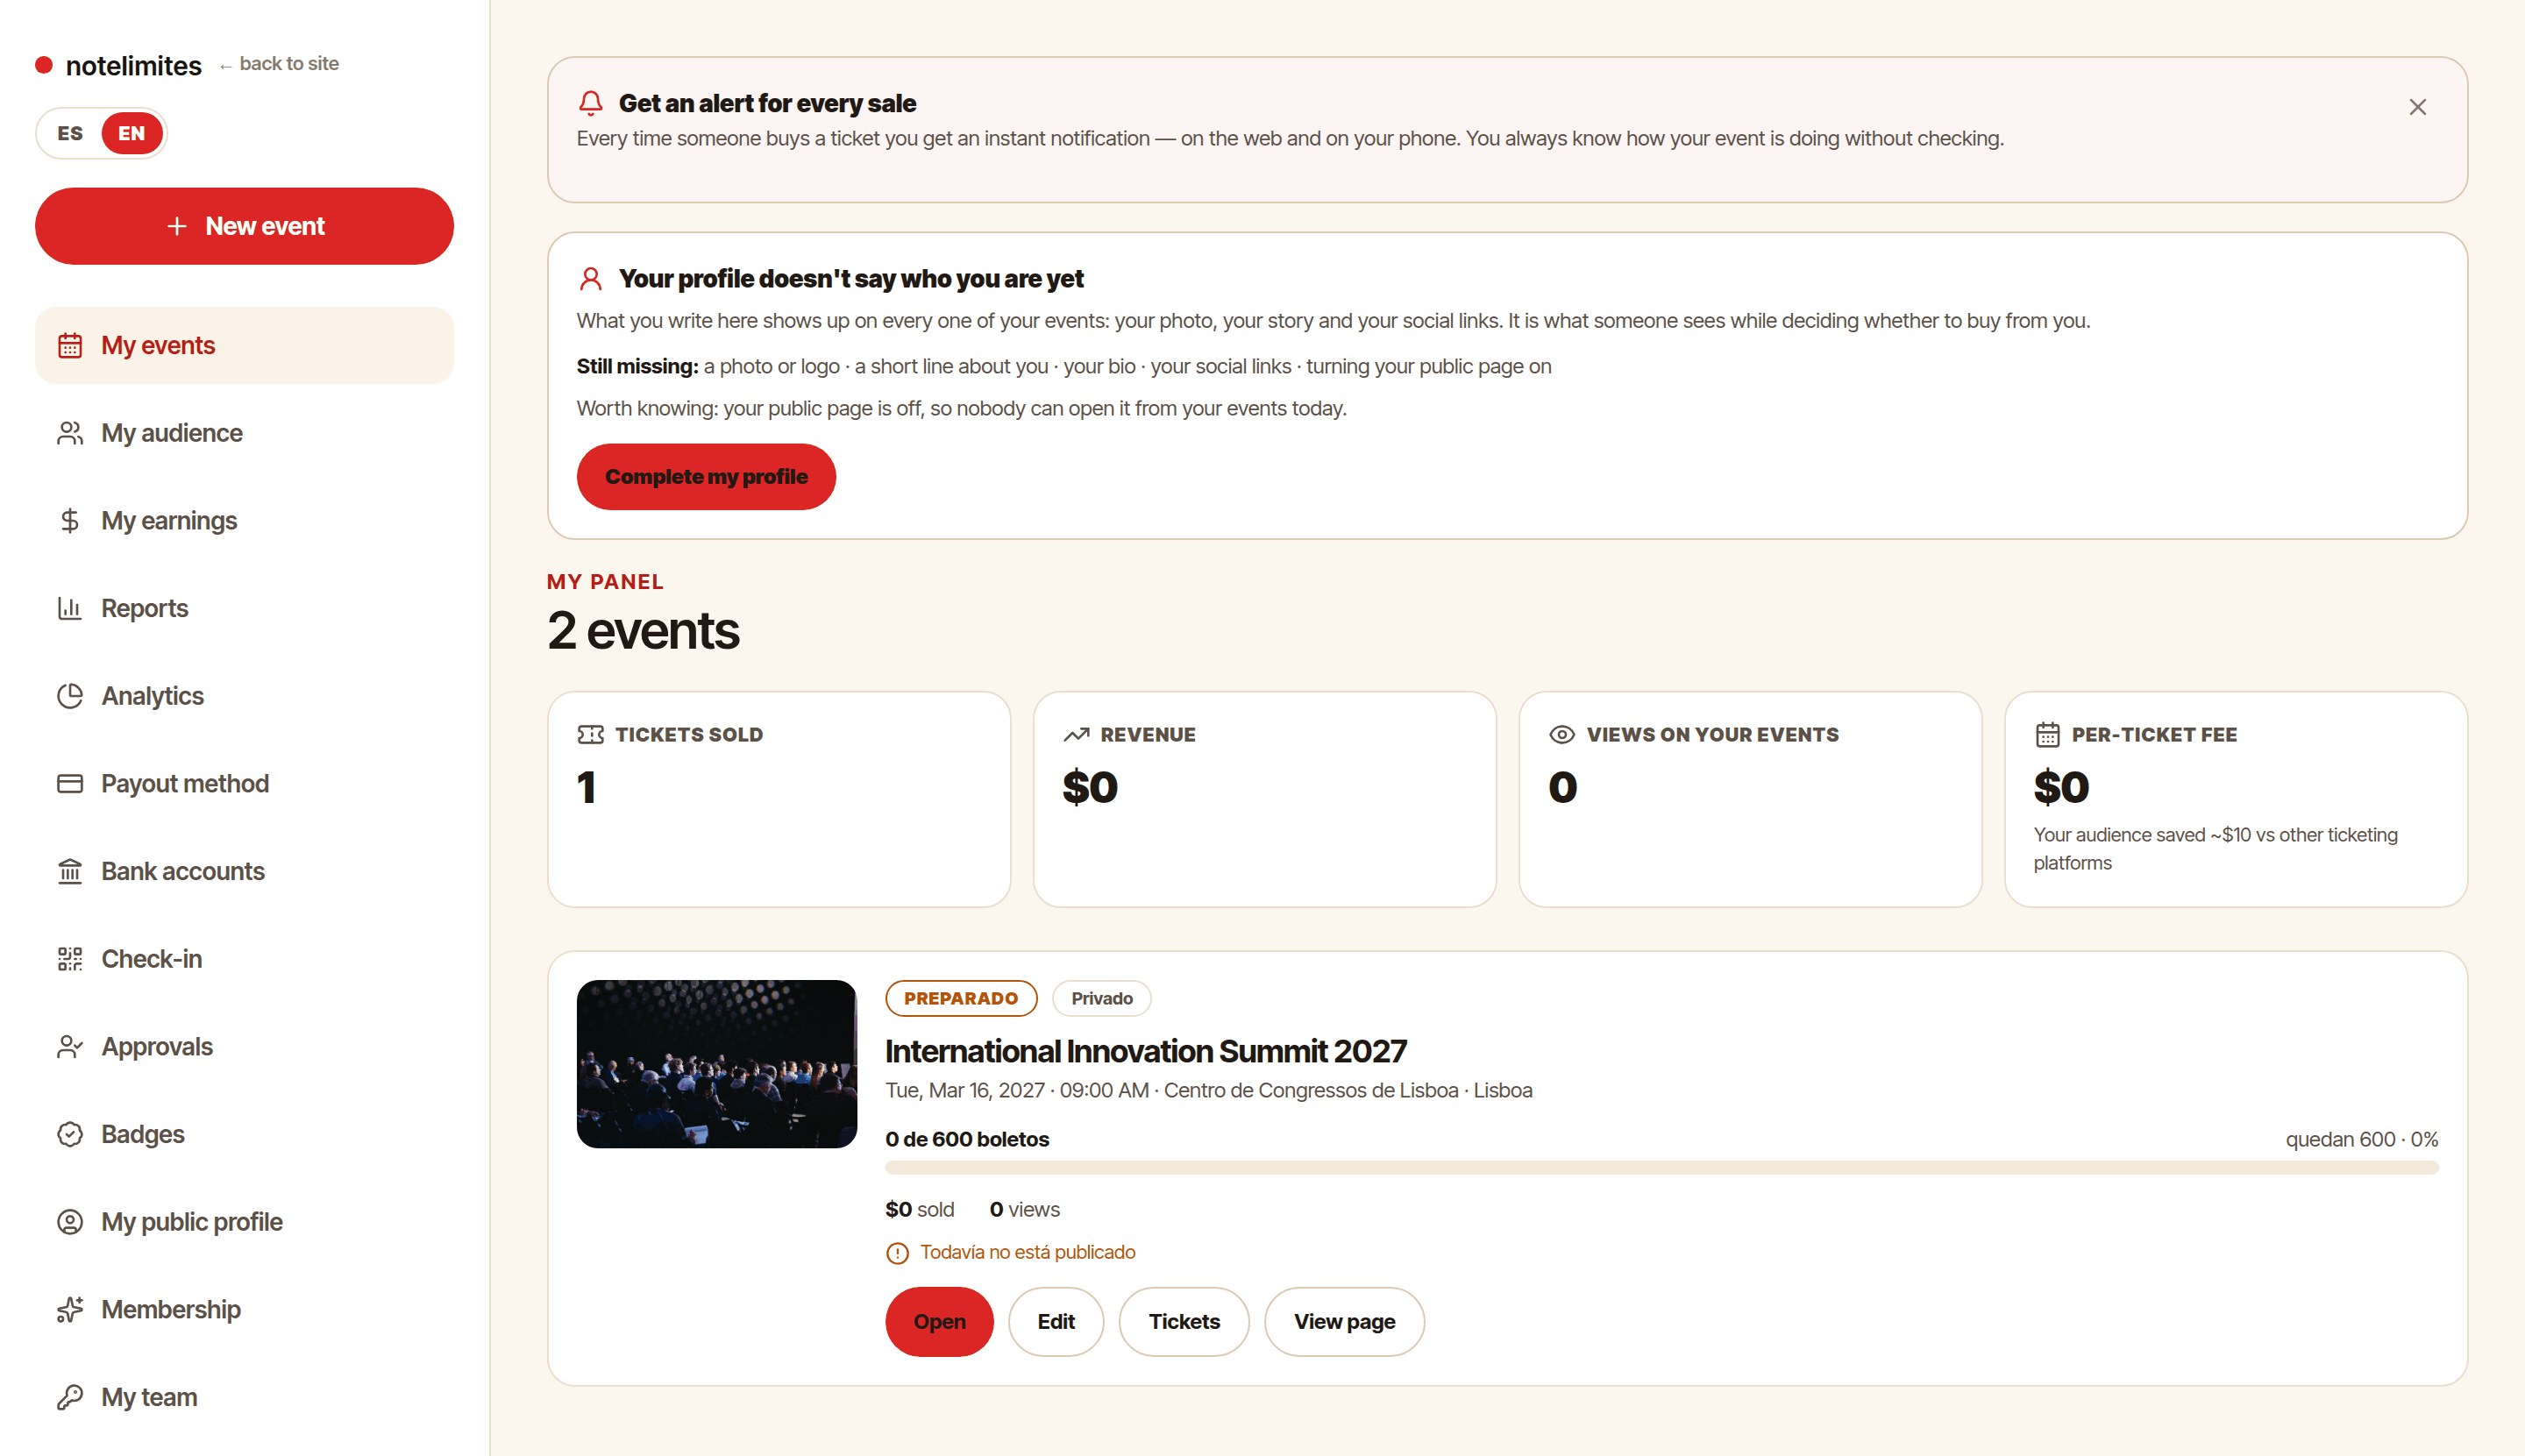
- Click «New event» and fill in the title, dates, venue and description.
- Upload the cover, logo and gallery from the event content editor.
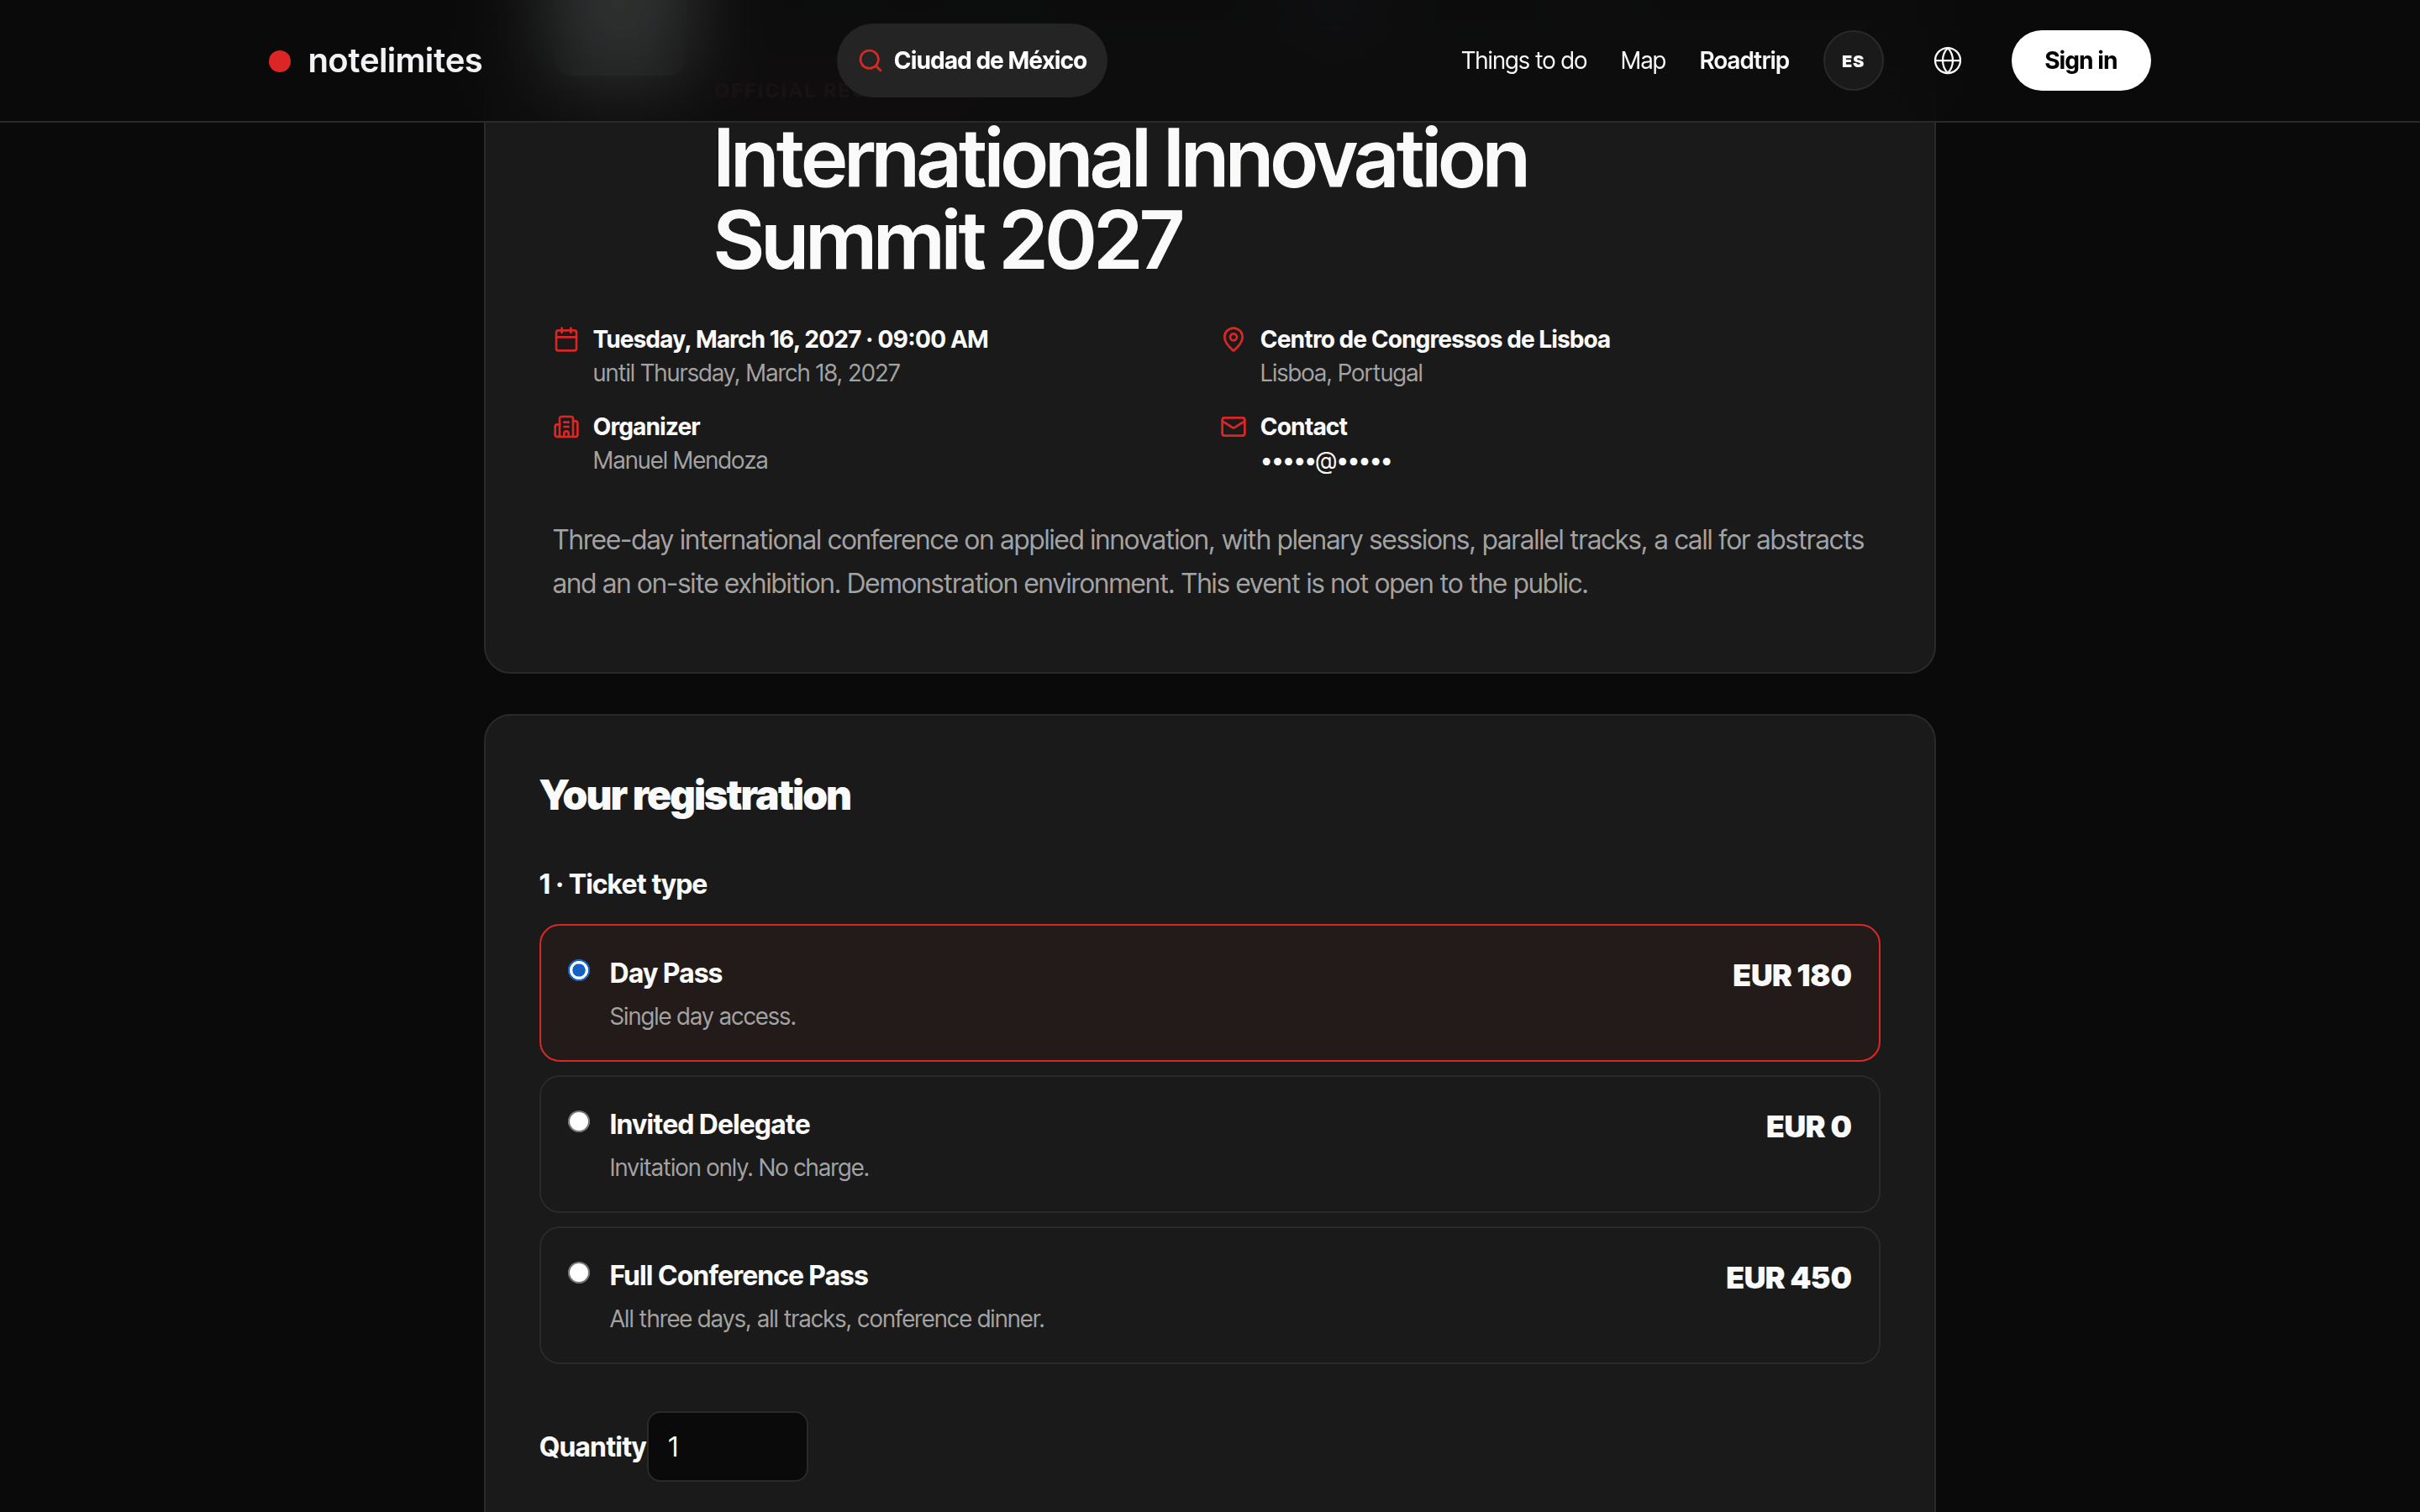
- Each event gets its own public registration link, which you can share by email.
- You can run several events at the same time and jump between them from the side menu.
Registration: ticket types and fields
Registration types, capacity, prices and each event's form.
Where: Dashboard › your event › Tickets
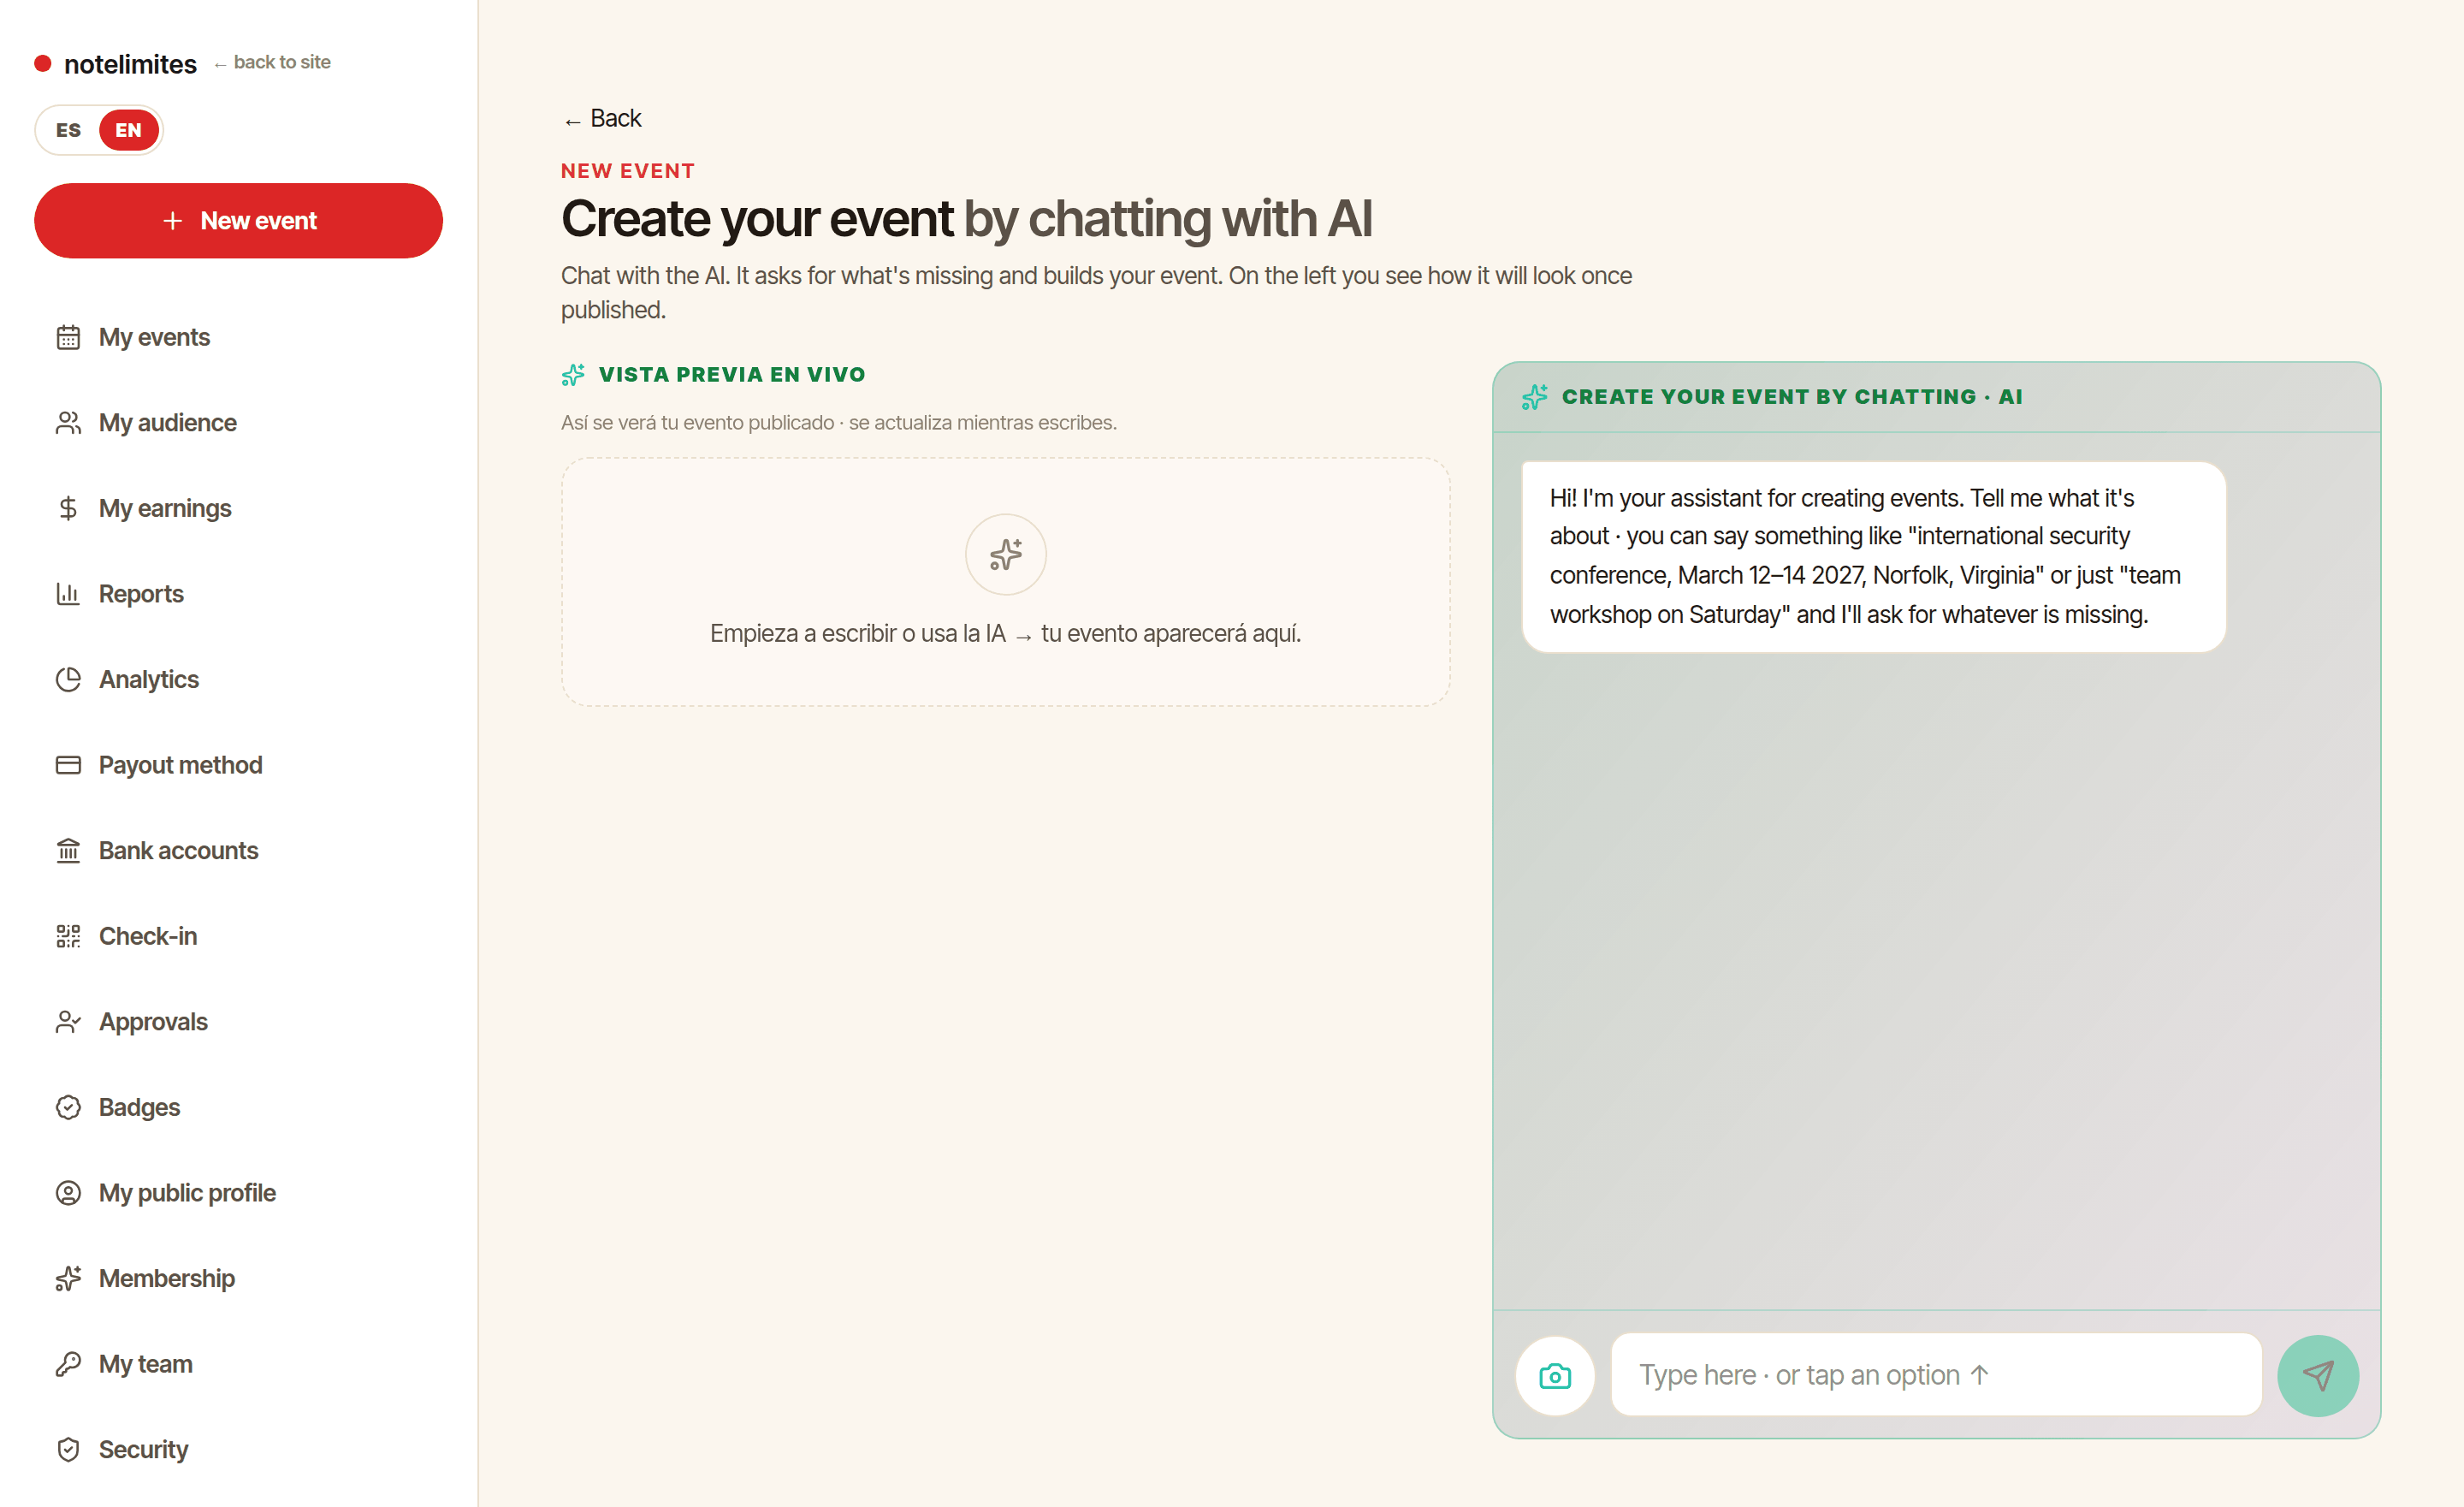
- In the event's «Tickets» create the registration types (for example Delegate, Speaker) with capacity and price; they can be free.
- In «Fields» build the form: text, email, phone, list, long text, number, checkbox and file.
- The «file» field asks the participant for a document (for example a passport or invitation letter), with allowed formats and a size limit. It is stored encrypted and only you and the participant can see it.
- When capacity is full, the waitlist collects emails and notifies people when a seat frees up.
Approve registrations
Review applications before a seat is confirmed.
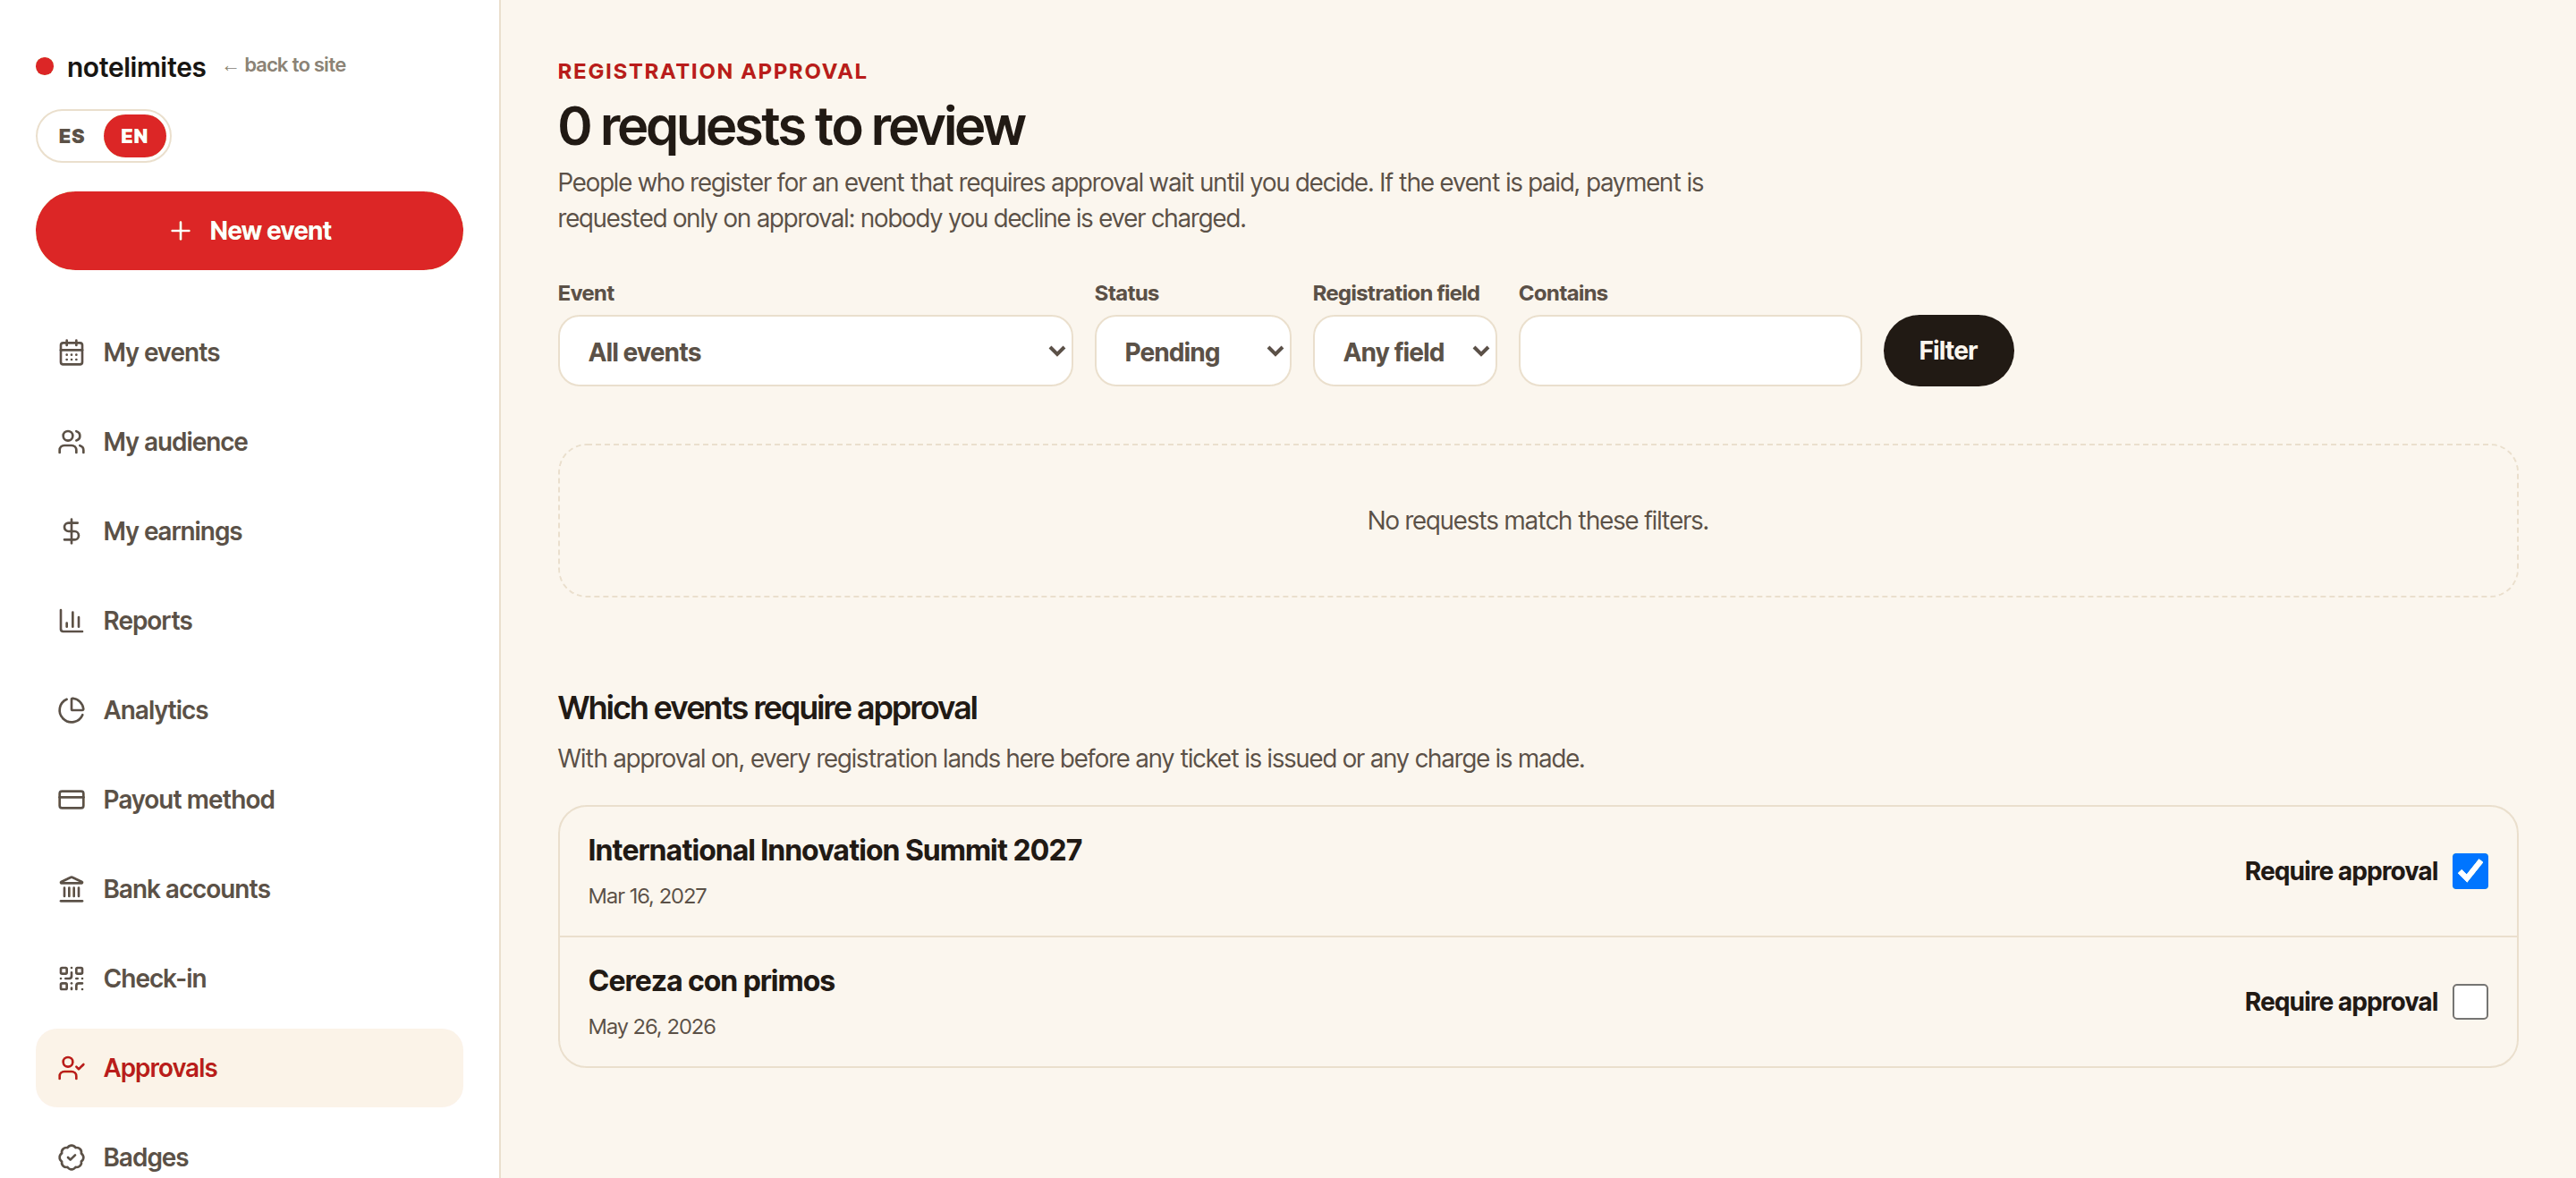
Where: Dashboard › Approvals
- Turn on «requires approval» for the event: each registration arrives as pending, with no charge.
- In «Approvals» filter by form answers and approve or reject one by one or in bulk, with a reason.
- When you approve, the participant gets a confirmation; if the registration has a fee they receive a payment link. Rejected applicants are never charged.
Payments, currency and payouts
Connect Stripe, choose a currency and see what you collected.
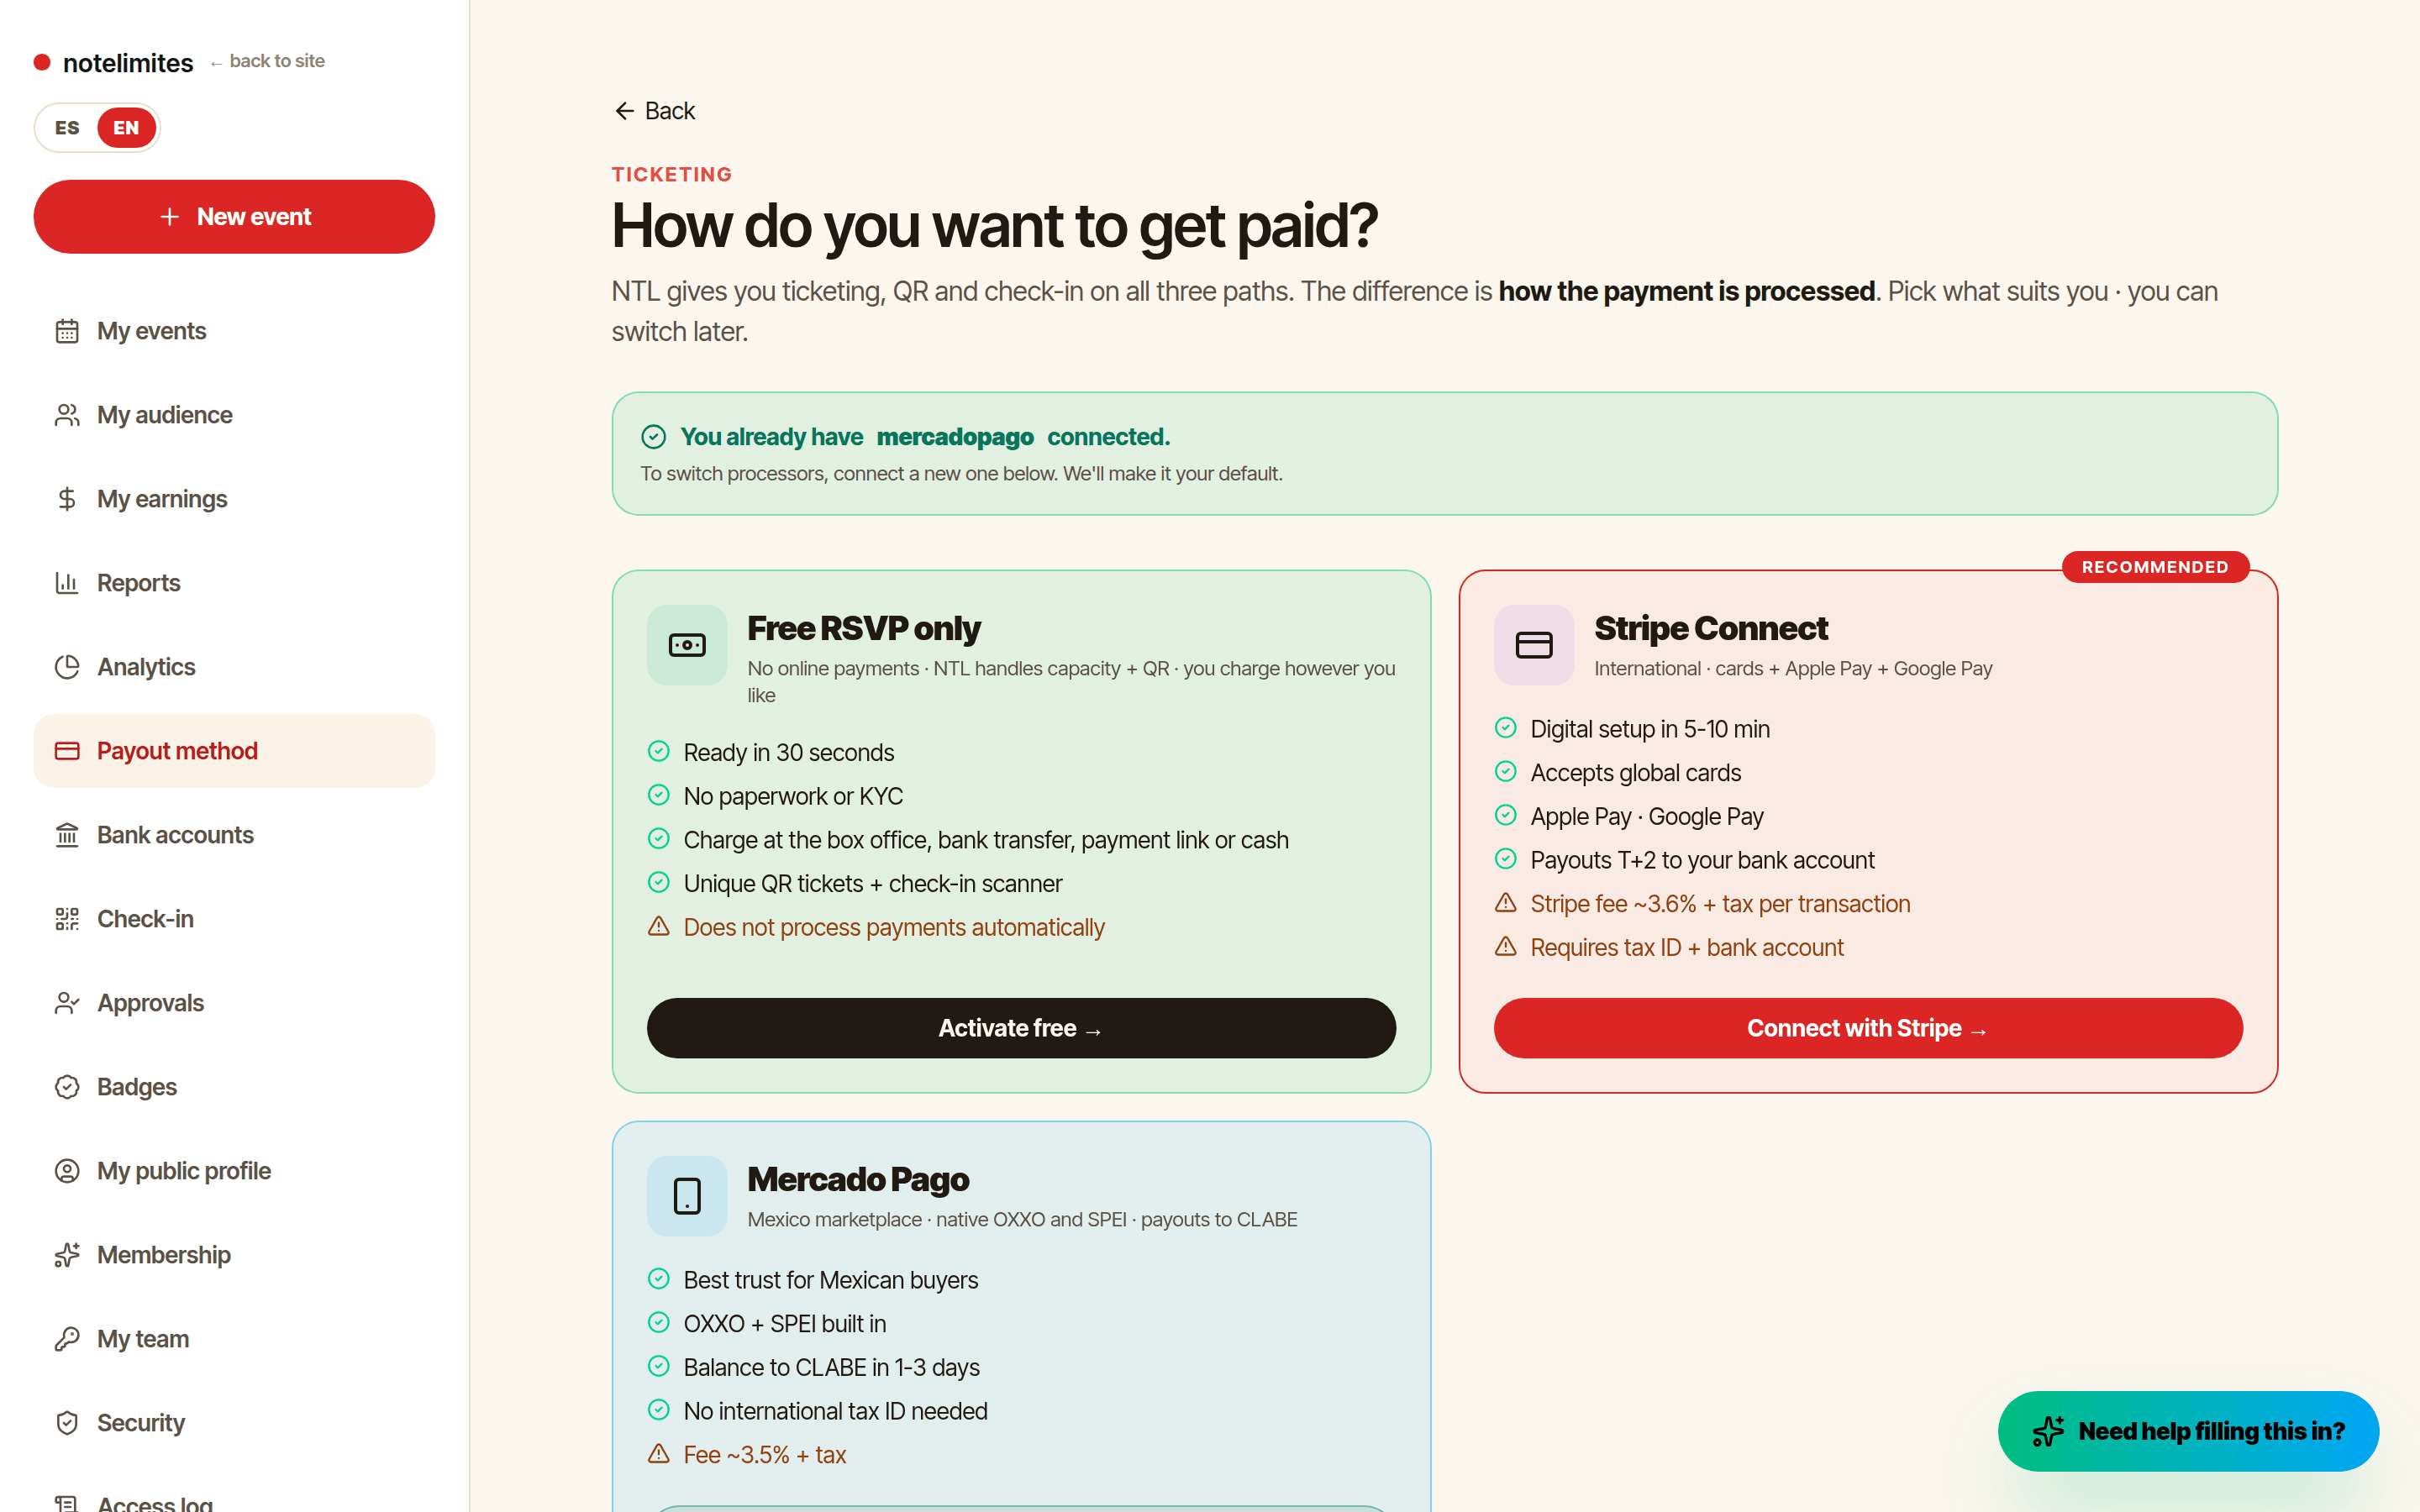
Where: Dashboard › Payout method
- In «Payout method» connect your Stripe account. Payments settle into YOUR Stripe account; card data never touches our servers.
- Each event charges in its own currency: MXN, USD, EUR or GBP (CAD only for US accounts). If your Stripe account cannot charge in that currency, the panel tells you before you publish.
- Stripe's fee is passed through at cost, with no markup.
- Refunds are issued from the event's attendee list.
Abstracts: call, review and decision
Collect submissions, review them blind and decide.
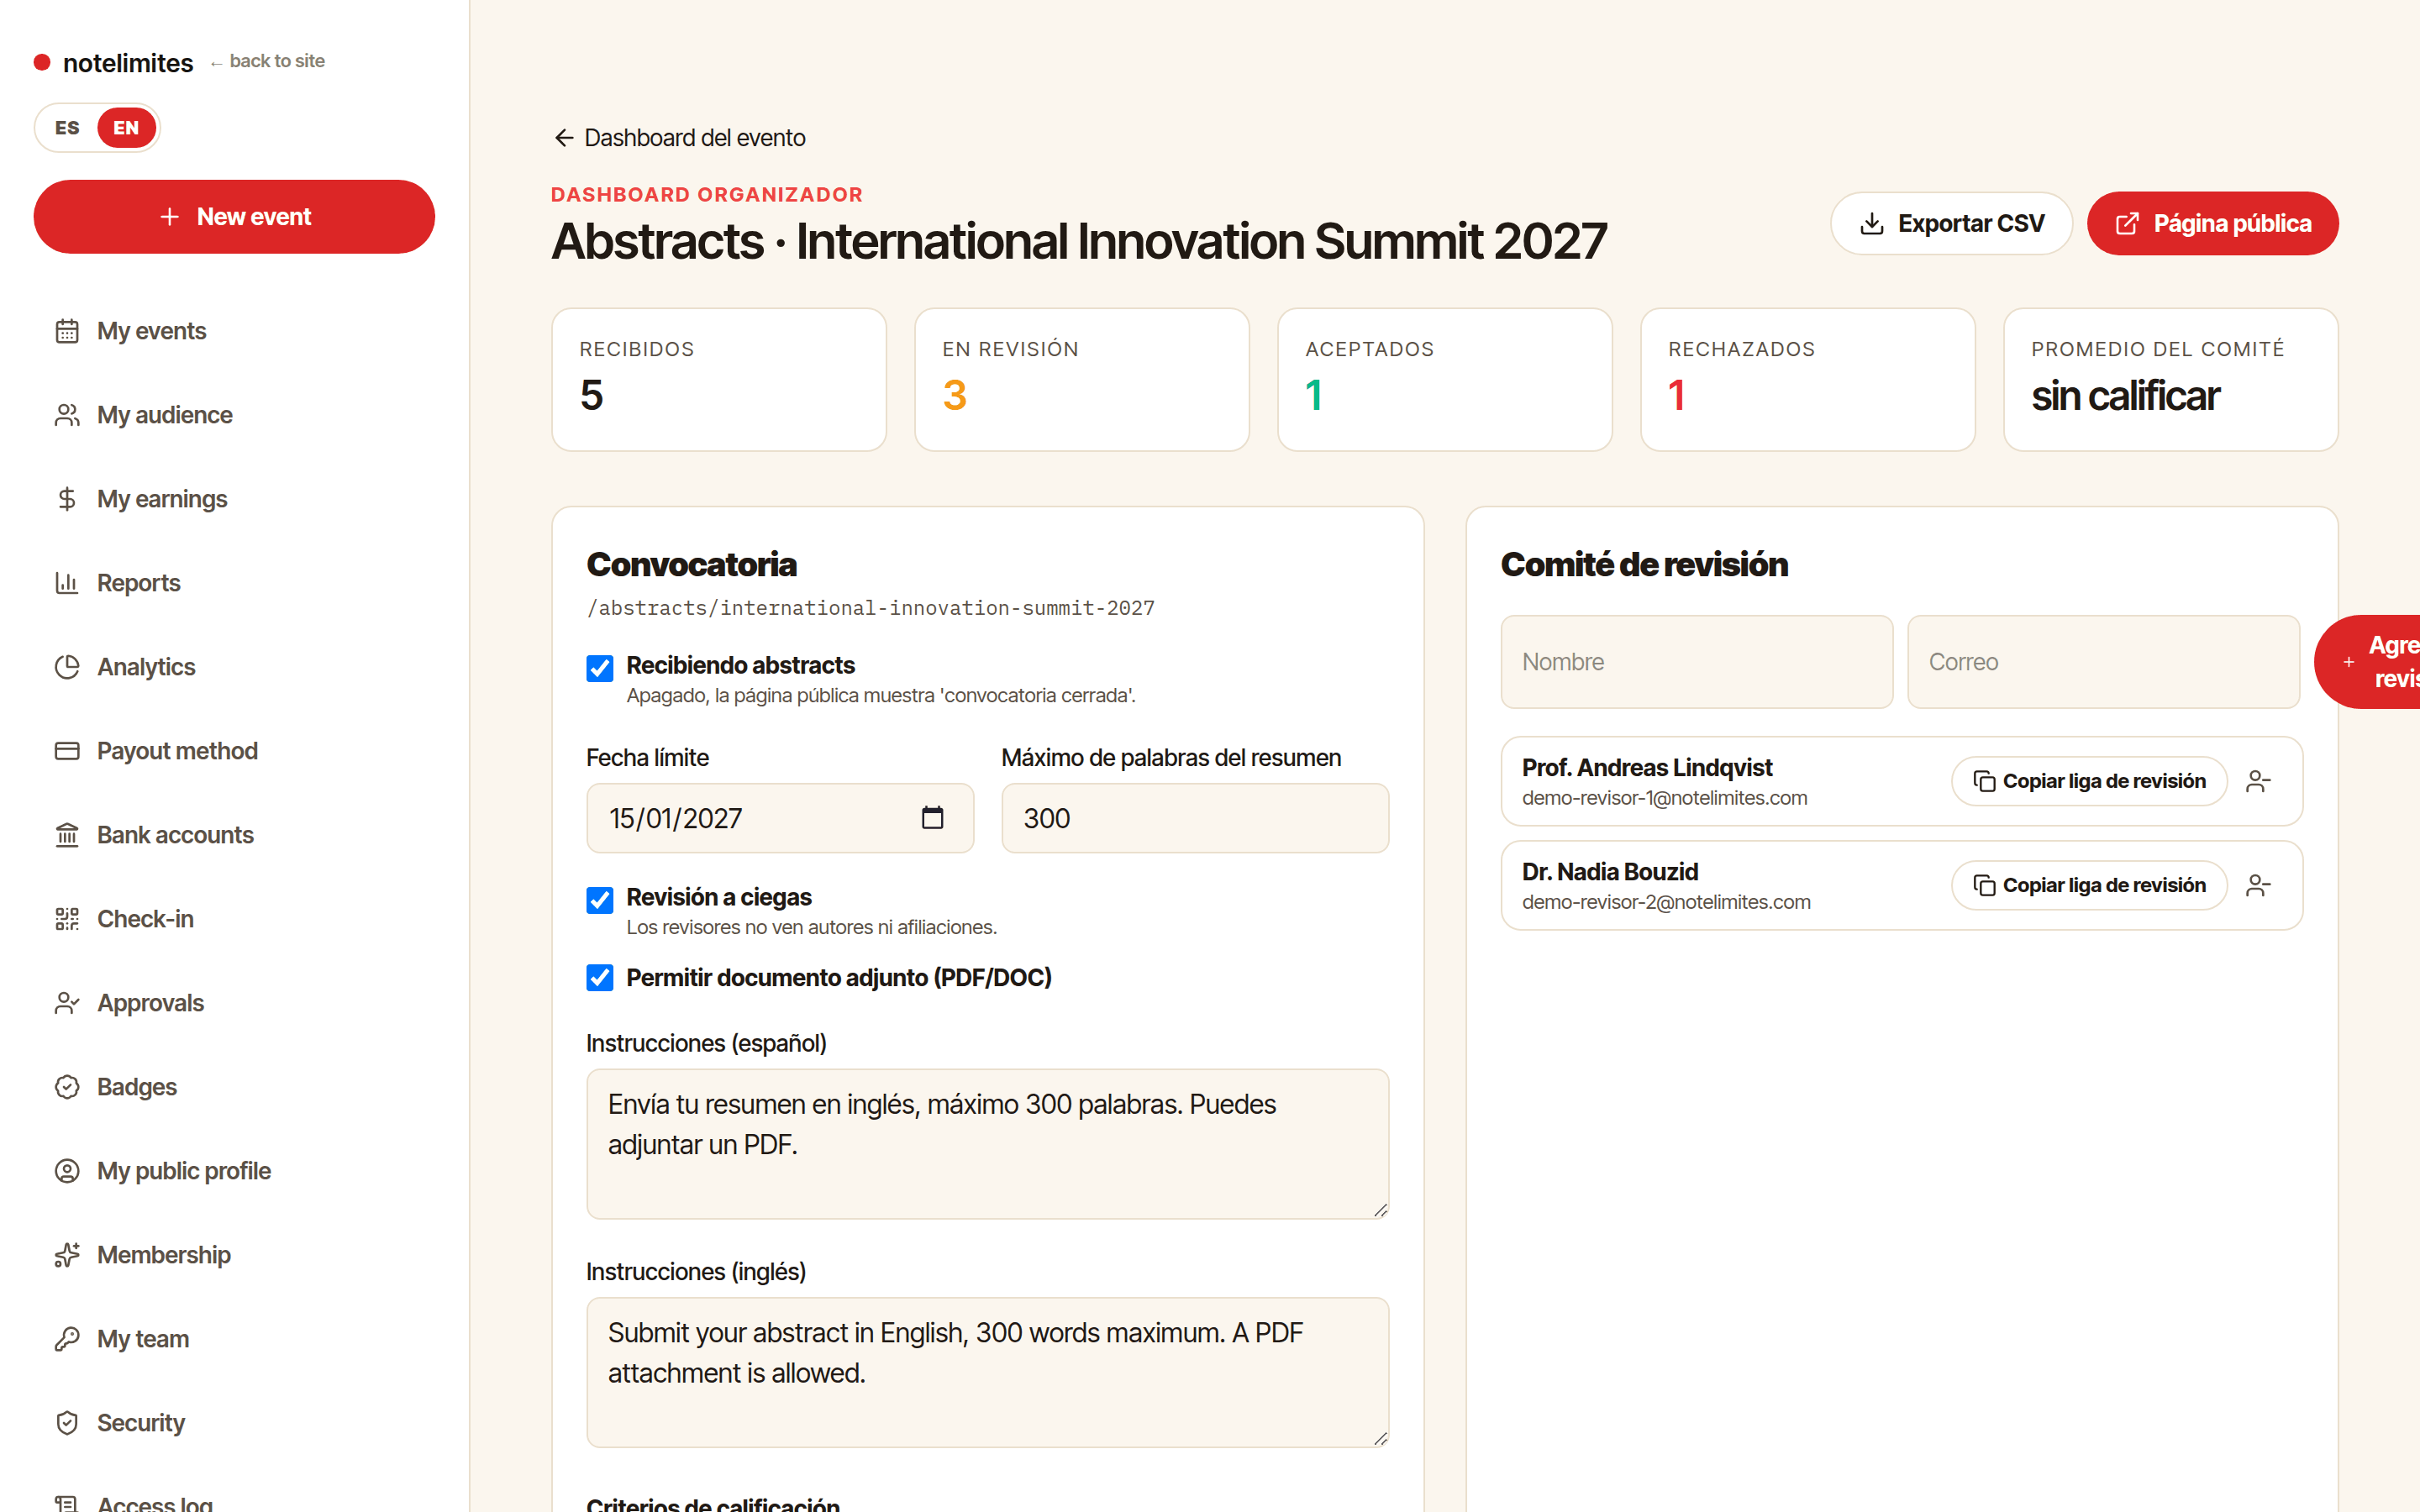
Where: Dashboard › your event › Abstracts
- In the event open «Abstracts» and set up the call: deadline, word limit, attachments, instructions in English and Spanish, and scoring criteria.
- Authors submit without creating an account and receive an ABS-XXXXXX tracking code.
- Invite reviewers by email: they sign in with a personal link, no account needed.
- If the call is blind, reviewers never see author details (they are removed on the server).
- Decide to accept, reject or return with comments, and download the CSV report sorted by average score.
Attendee Hub
The attendee web portal: agenda, speakers, documents, announcements and surveys.
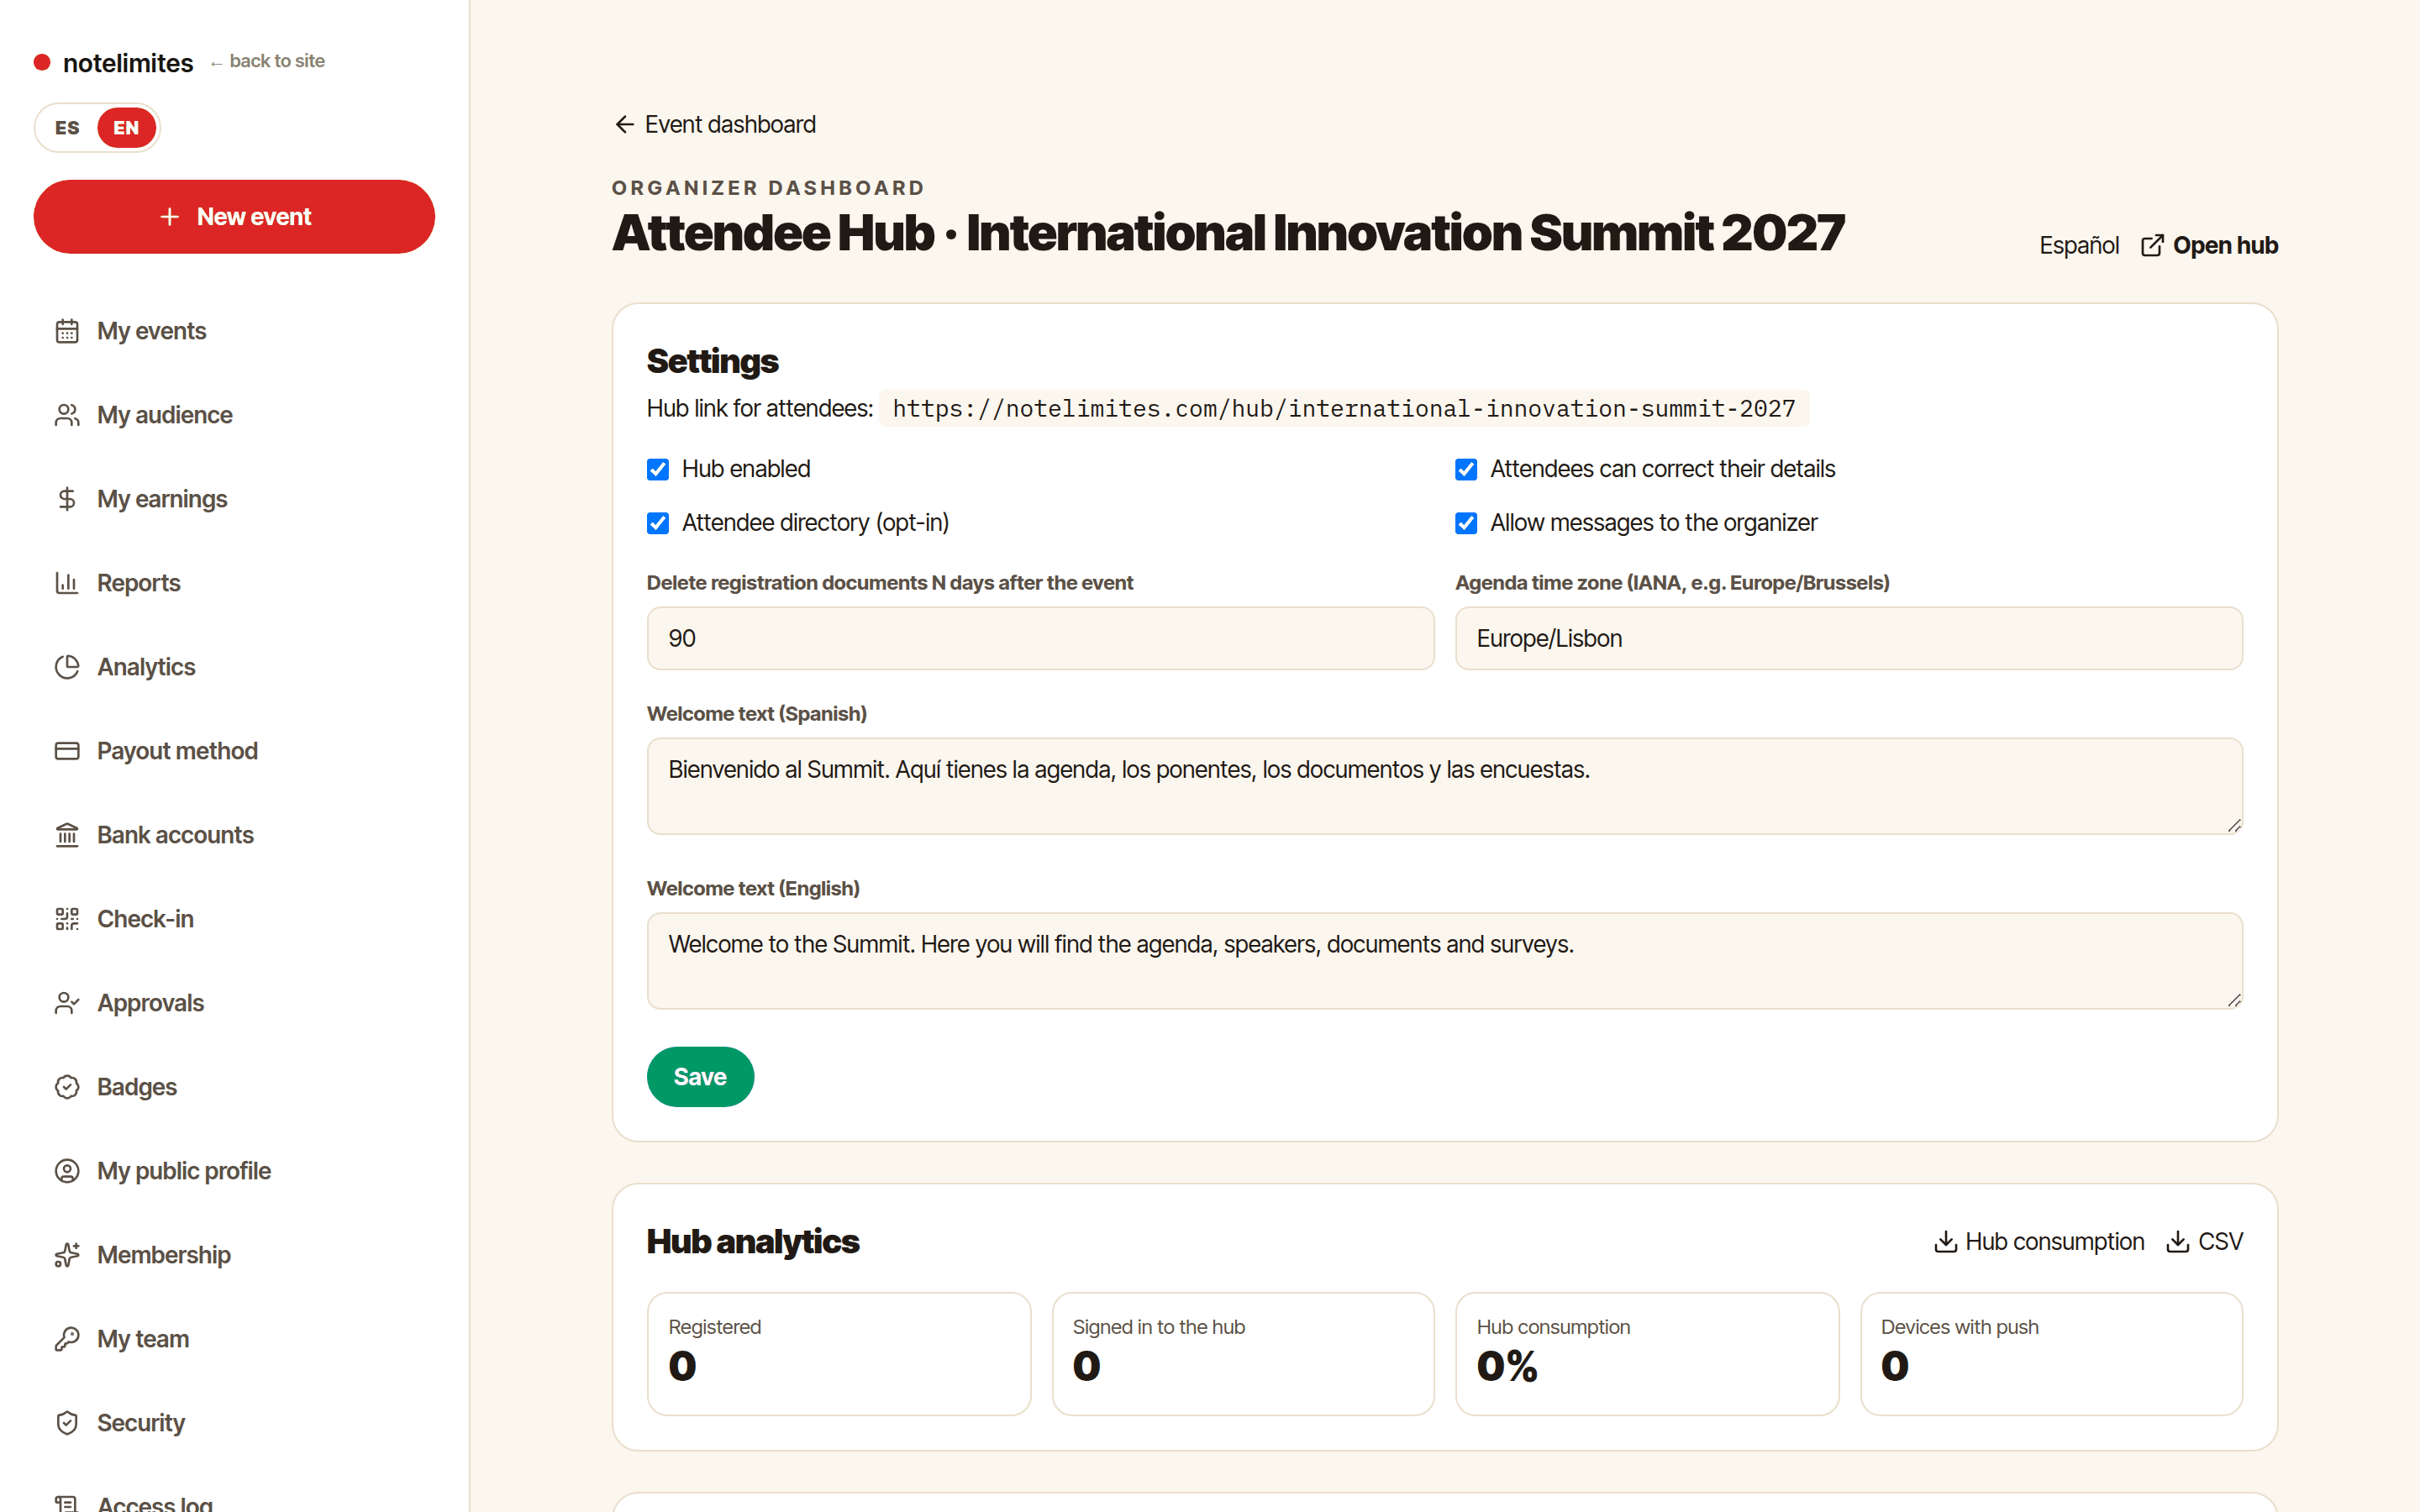
Where: Dashboard › your event › Attendee Hub
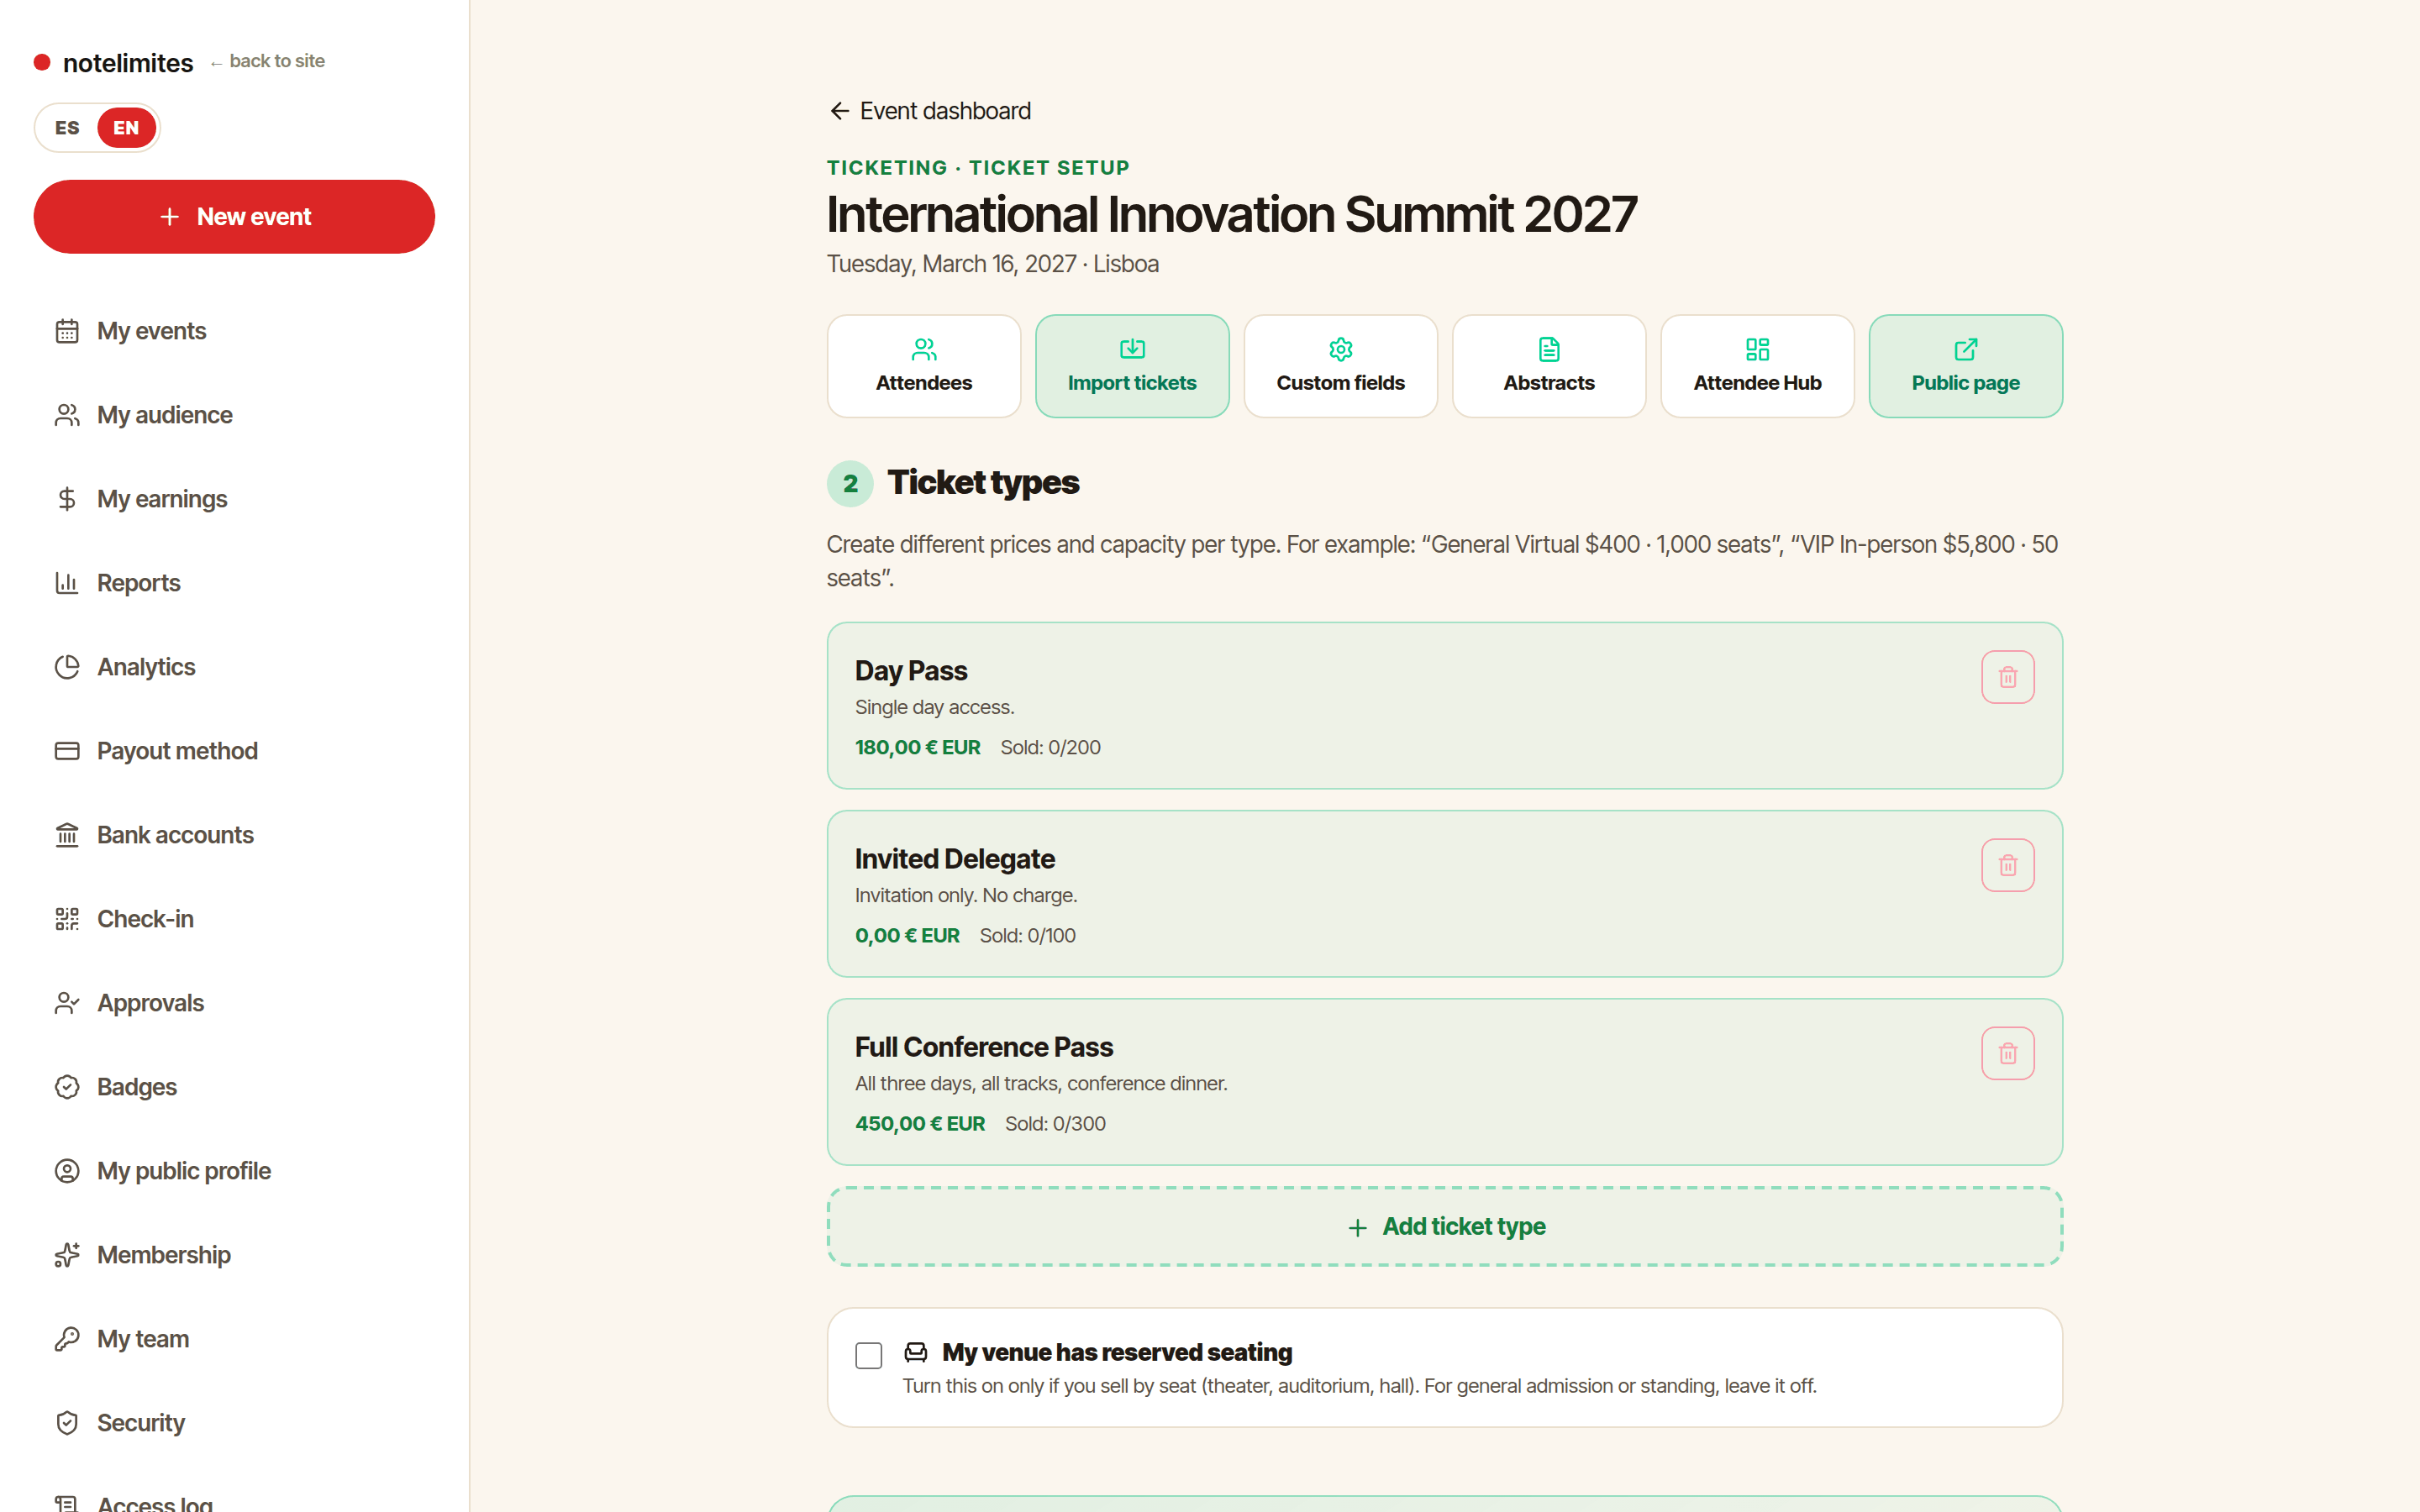
- In the event open «Attendee Hub» and turn it on.
- Load the agenda (sessions with room, time and visibility by registration type), the speaker database and documents.
- Send announcements by push notification or email, and create surveys with results in the panel.
- Attendees sign in with a 6-digit code sent to their email, no password.
Attendees and bulk email
Look up, filter, export and email attendees.
Where: Dashboard › your event › Attendees
- The event attendee list shows every registration with its answers and documents.
- Filter and export to CSV; every download is recorded in the access log.
- Email everyone or a filtered group of attendees from the same panel.
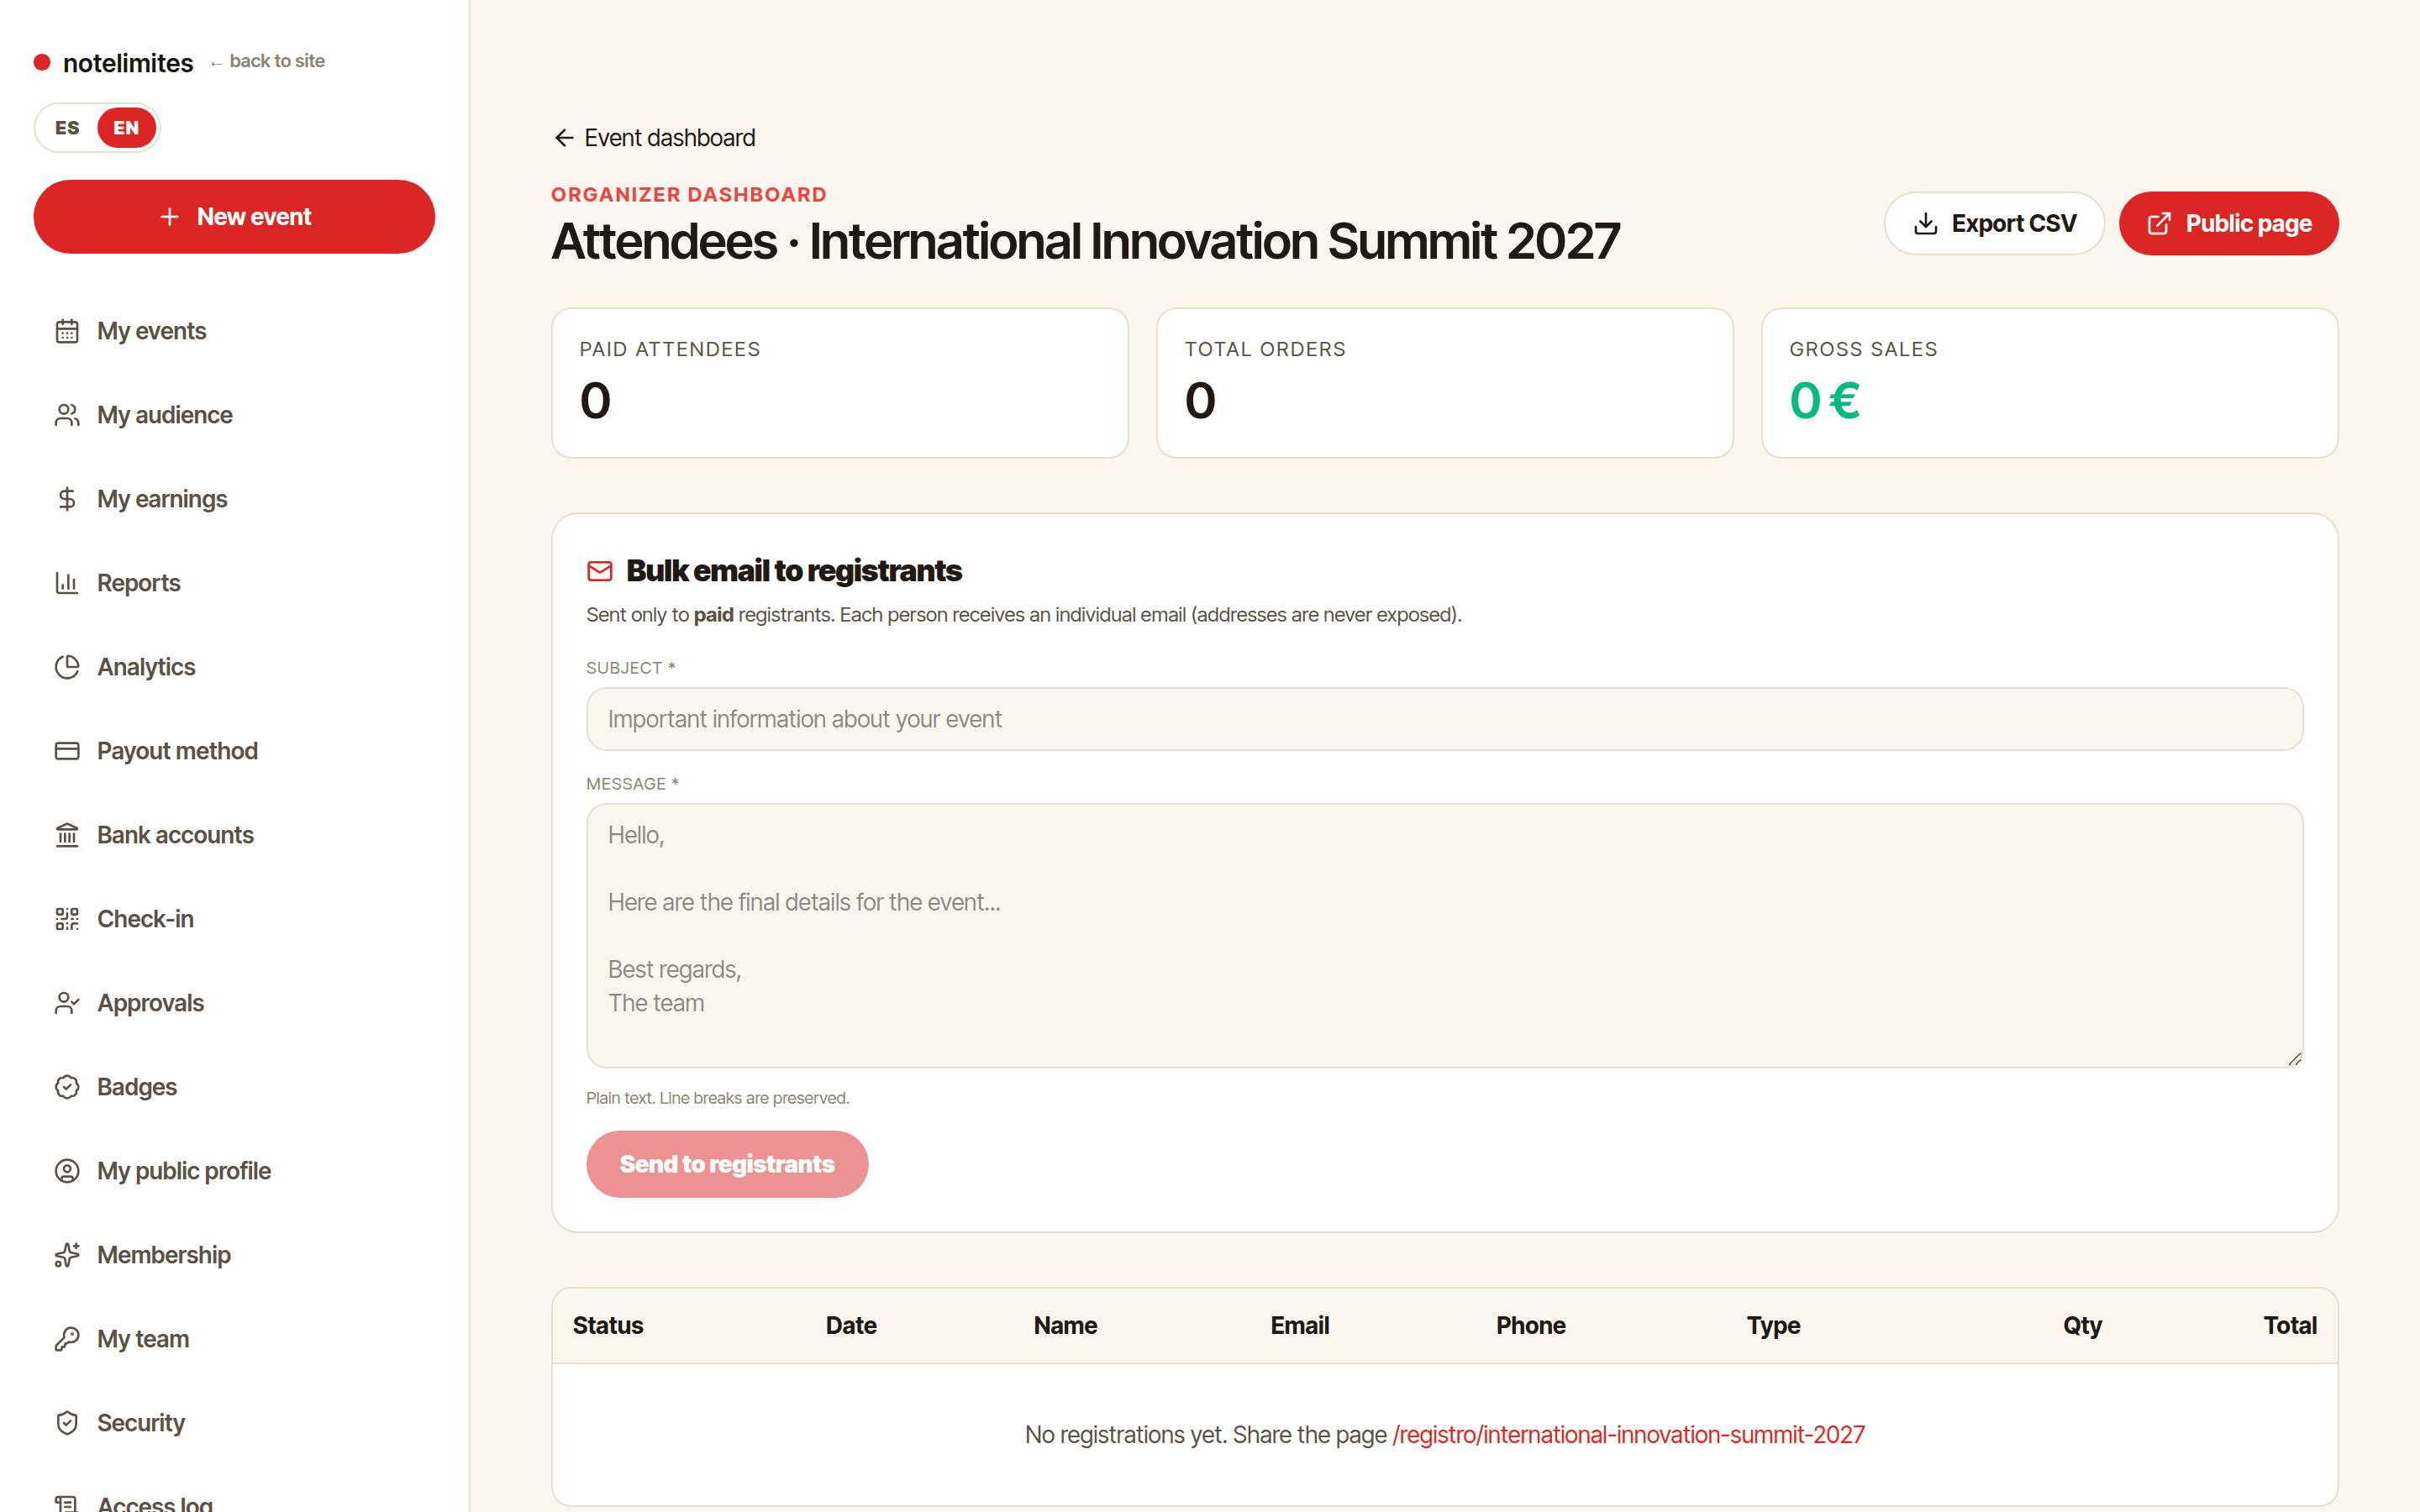
Reports
Monthly report and payout reconciliation.
Where: Dashboard › Reports
- «Reports» shows by month and by event: registrations, tickets by type, gross, fees, refunds, net and check-ins.
- The payouts section reconciles each Stripe payout against its charges.
- Download as CSV or print / save as PDF.
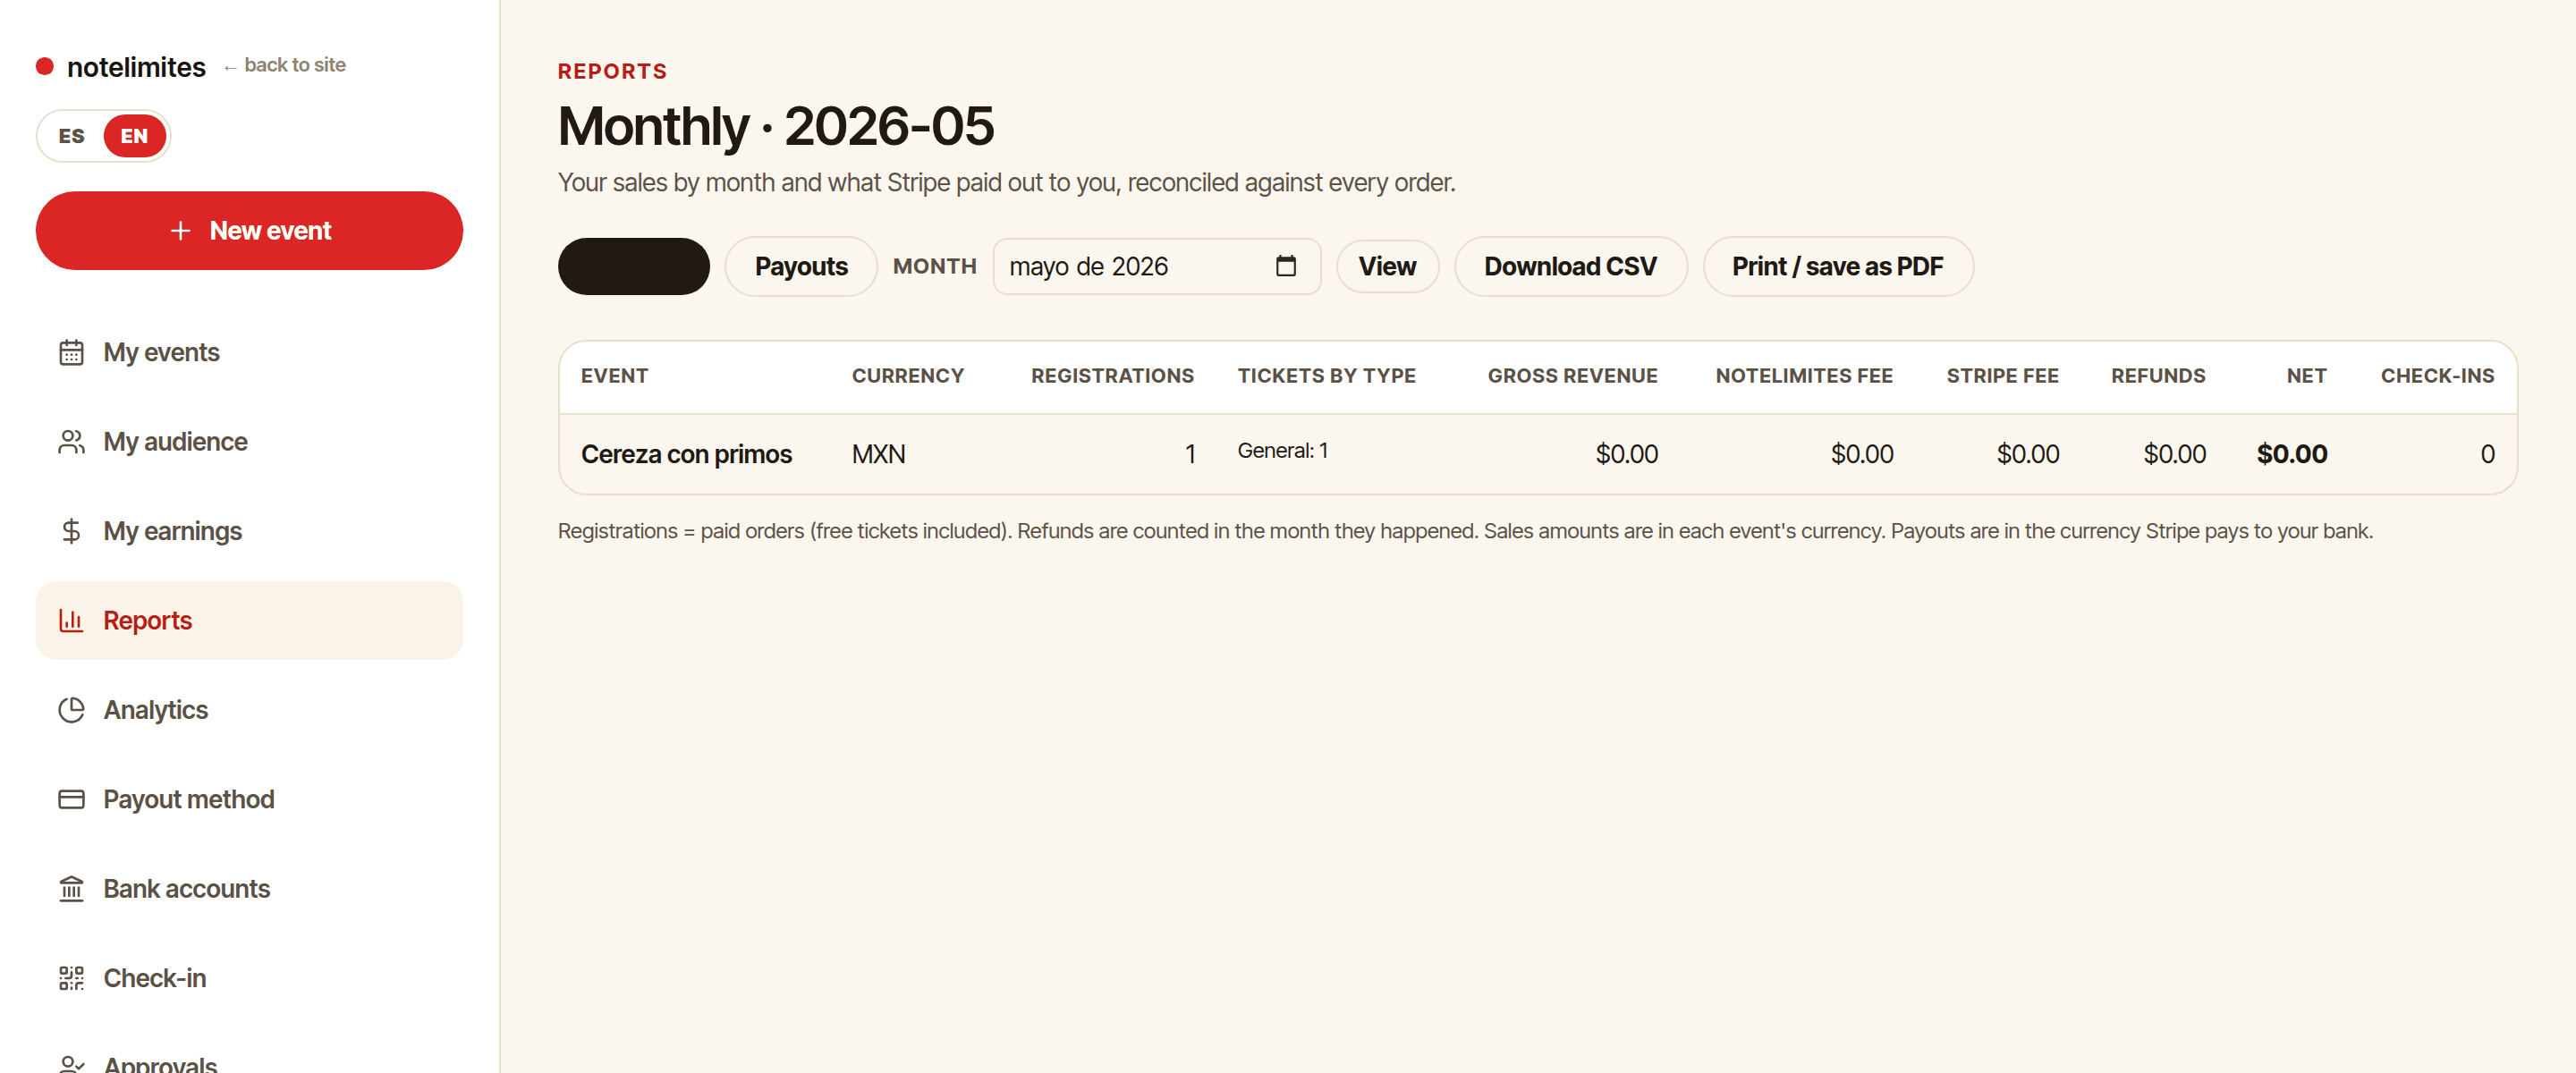
Team and roles
Invite people and give them the right access.
Where: Dashboard › My team
- Invite by email with one of three roles: administrator (edits events), box office (check-in and on-site sales, no finances) or reports (read-only access to reports and analytics).
- The account owner can change roles or revoke access at any time; it is recorded in the access log.
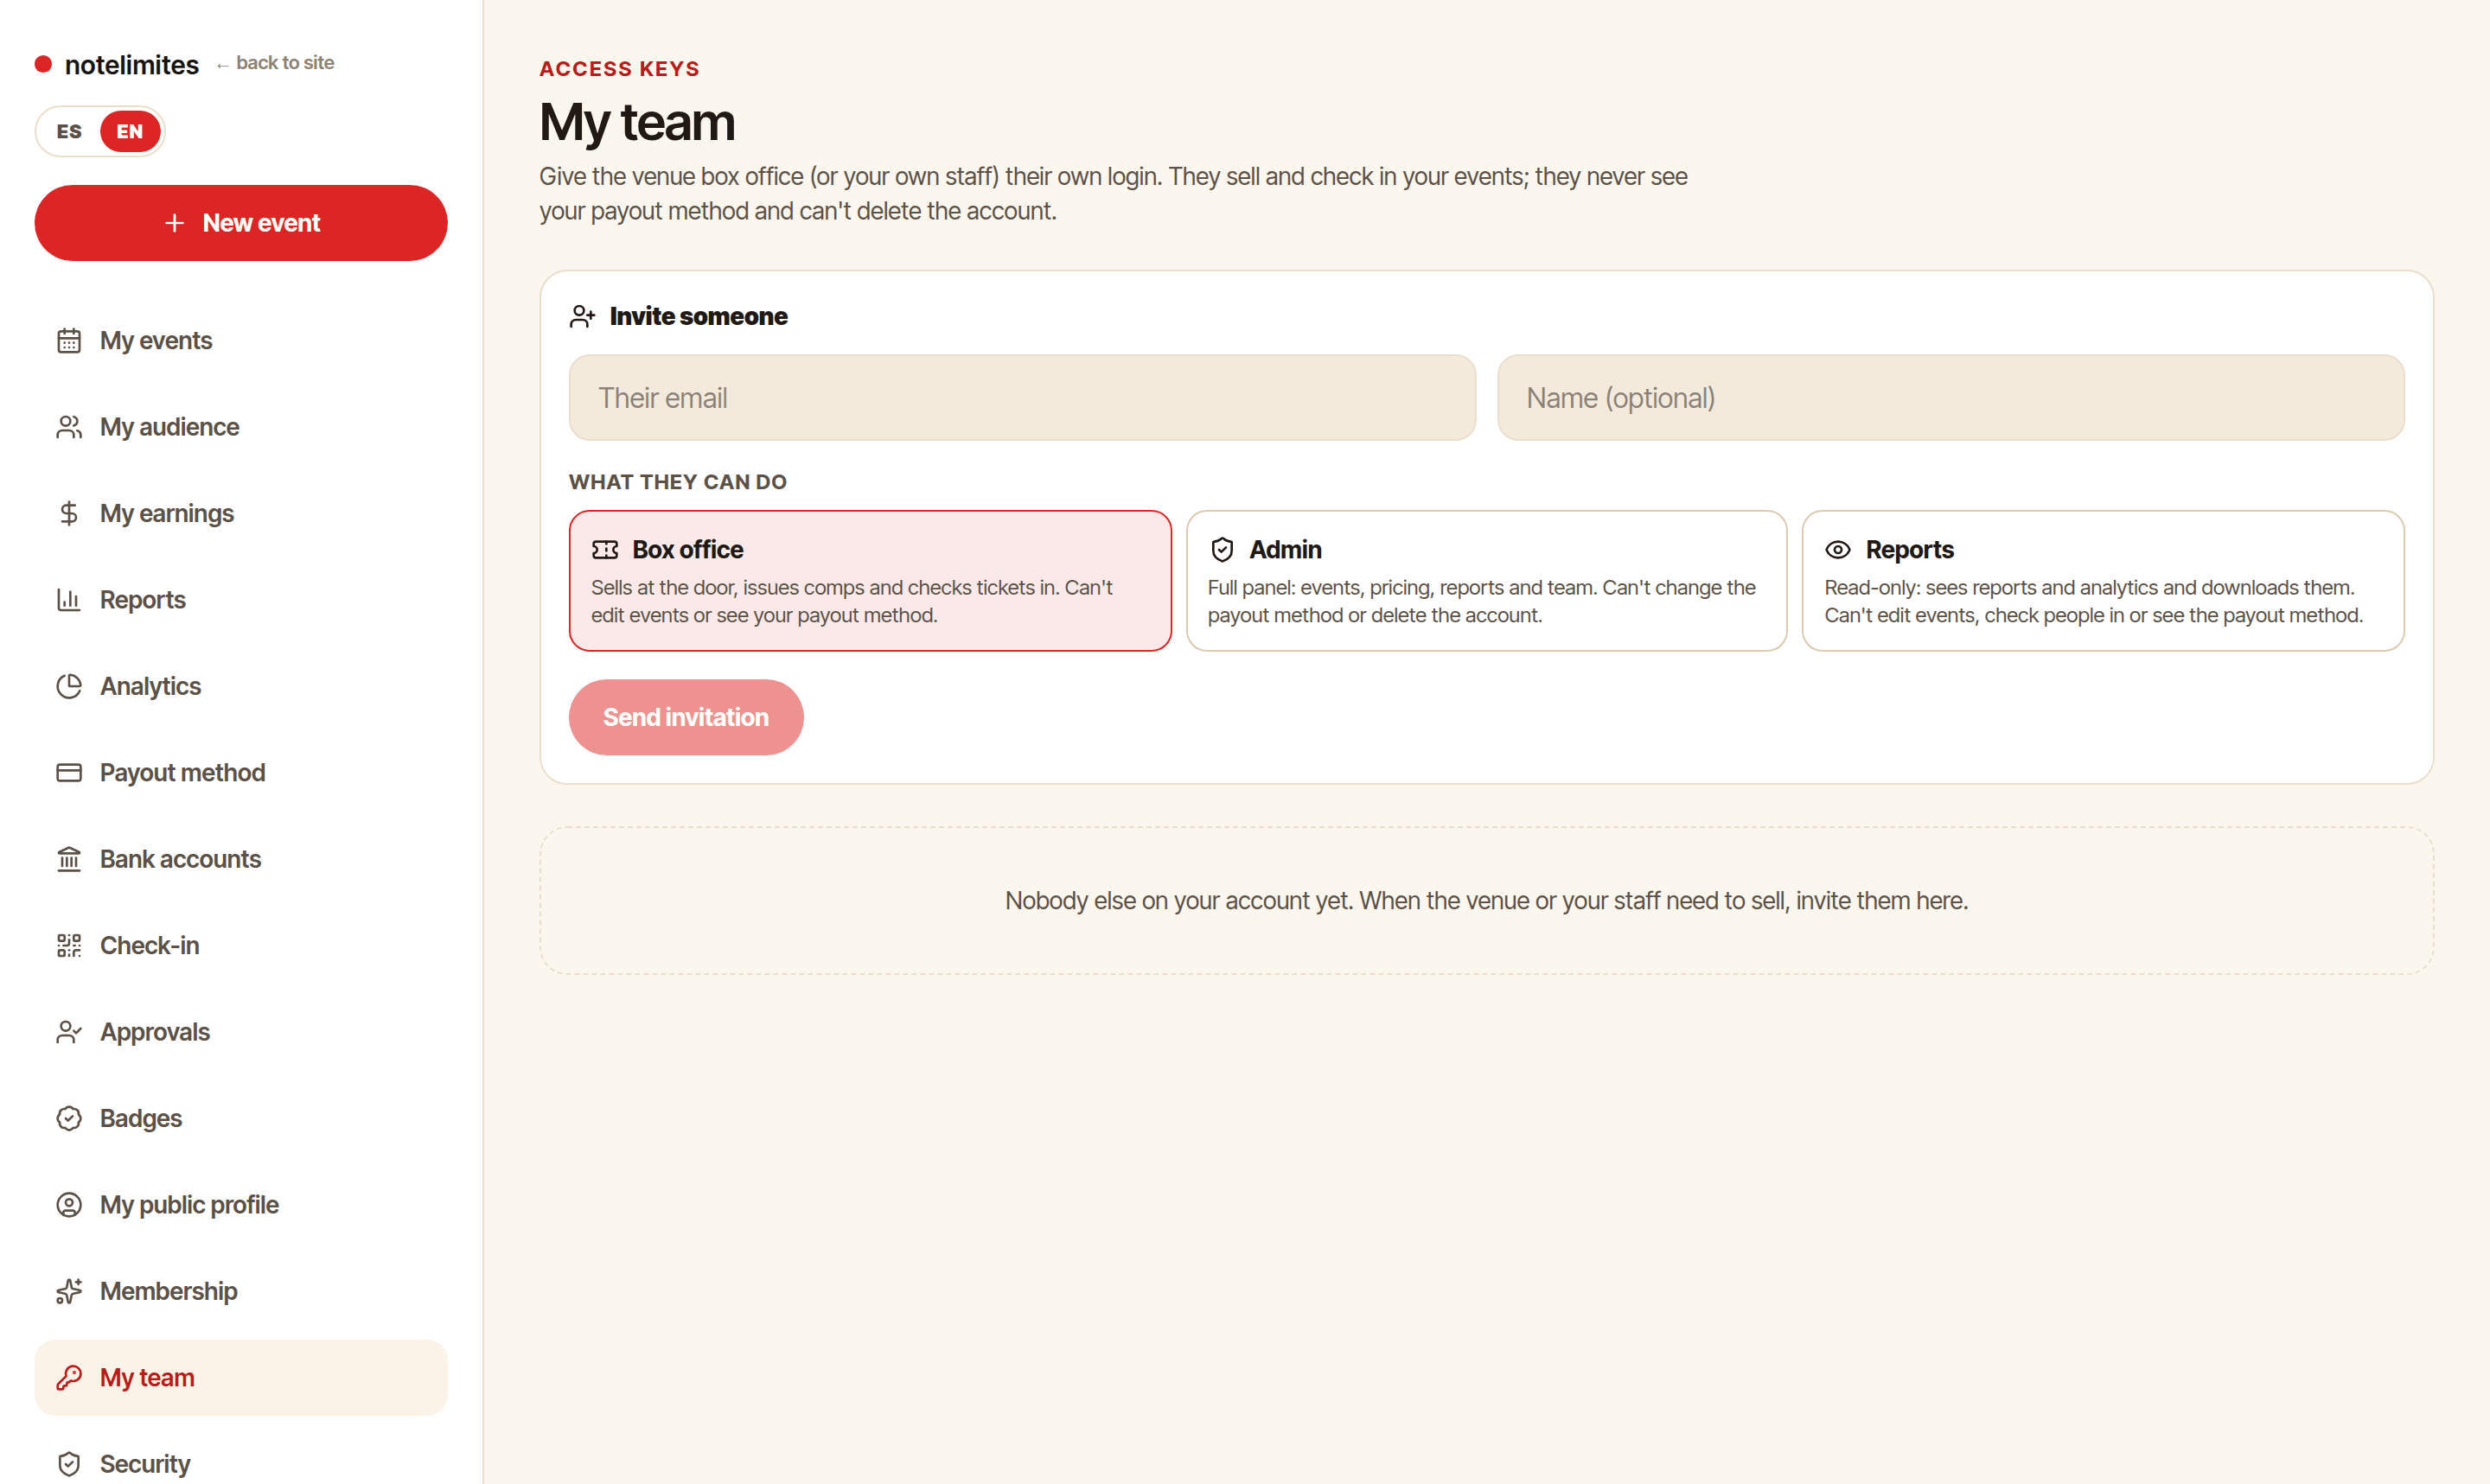
Two-factor authentication (2FA)
Protect the account with a 6-digit code.
Where: Dashboard › Security
- In «Security» scan the QR code with Google Authenticator, 1Password or Authy and confirm with a code.
- Store the 10 backup codes: each works once if you lose your phone.
- The owner can make two-factor mandatory for the whole team.
- If you lose your phone and codes, open a ticket: the NTL team can reset it after verifying your identity.
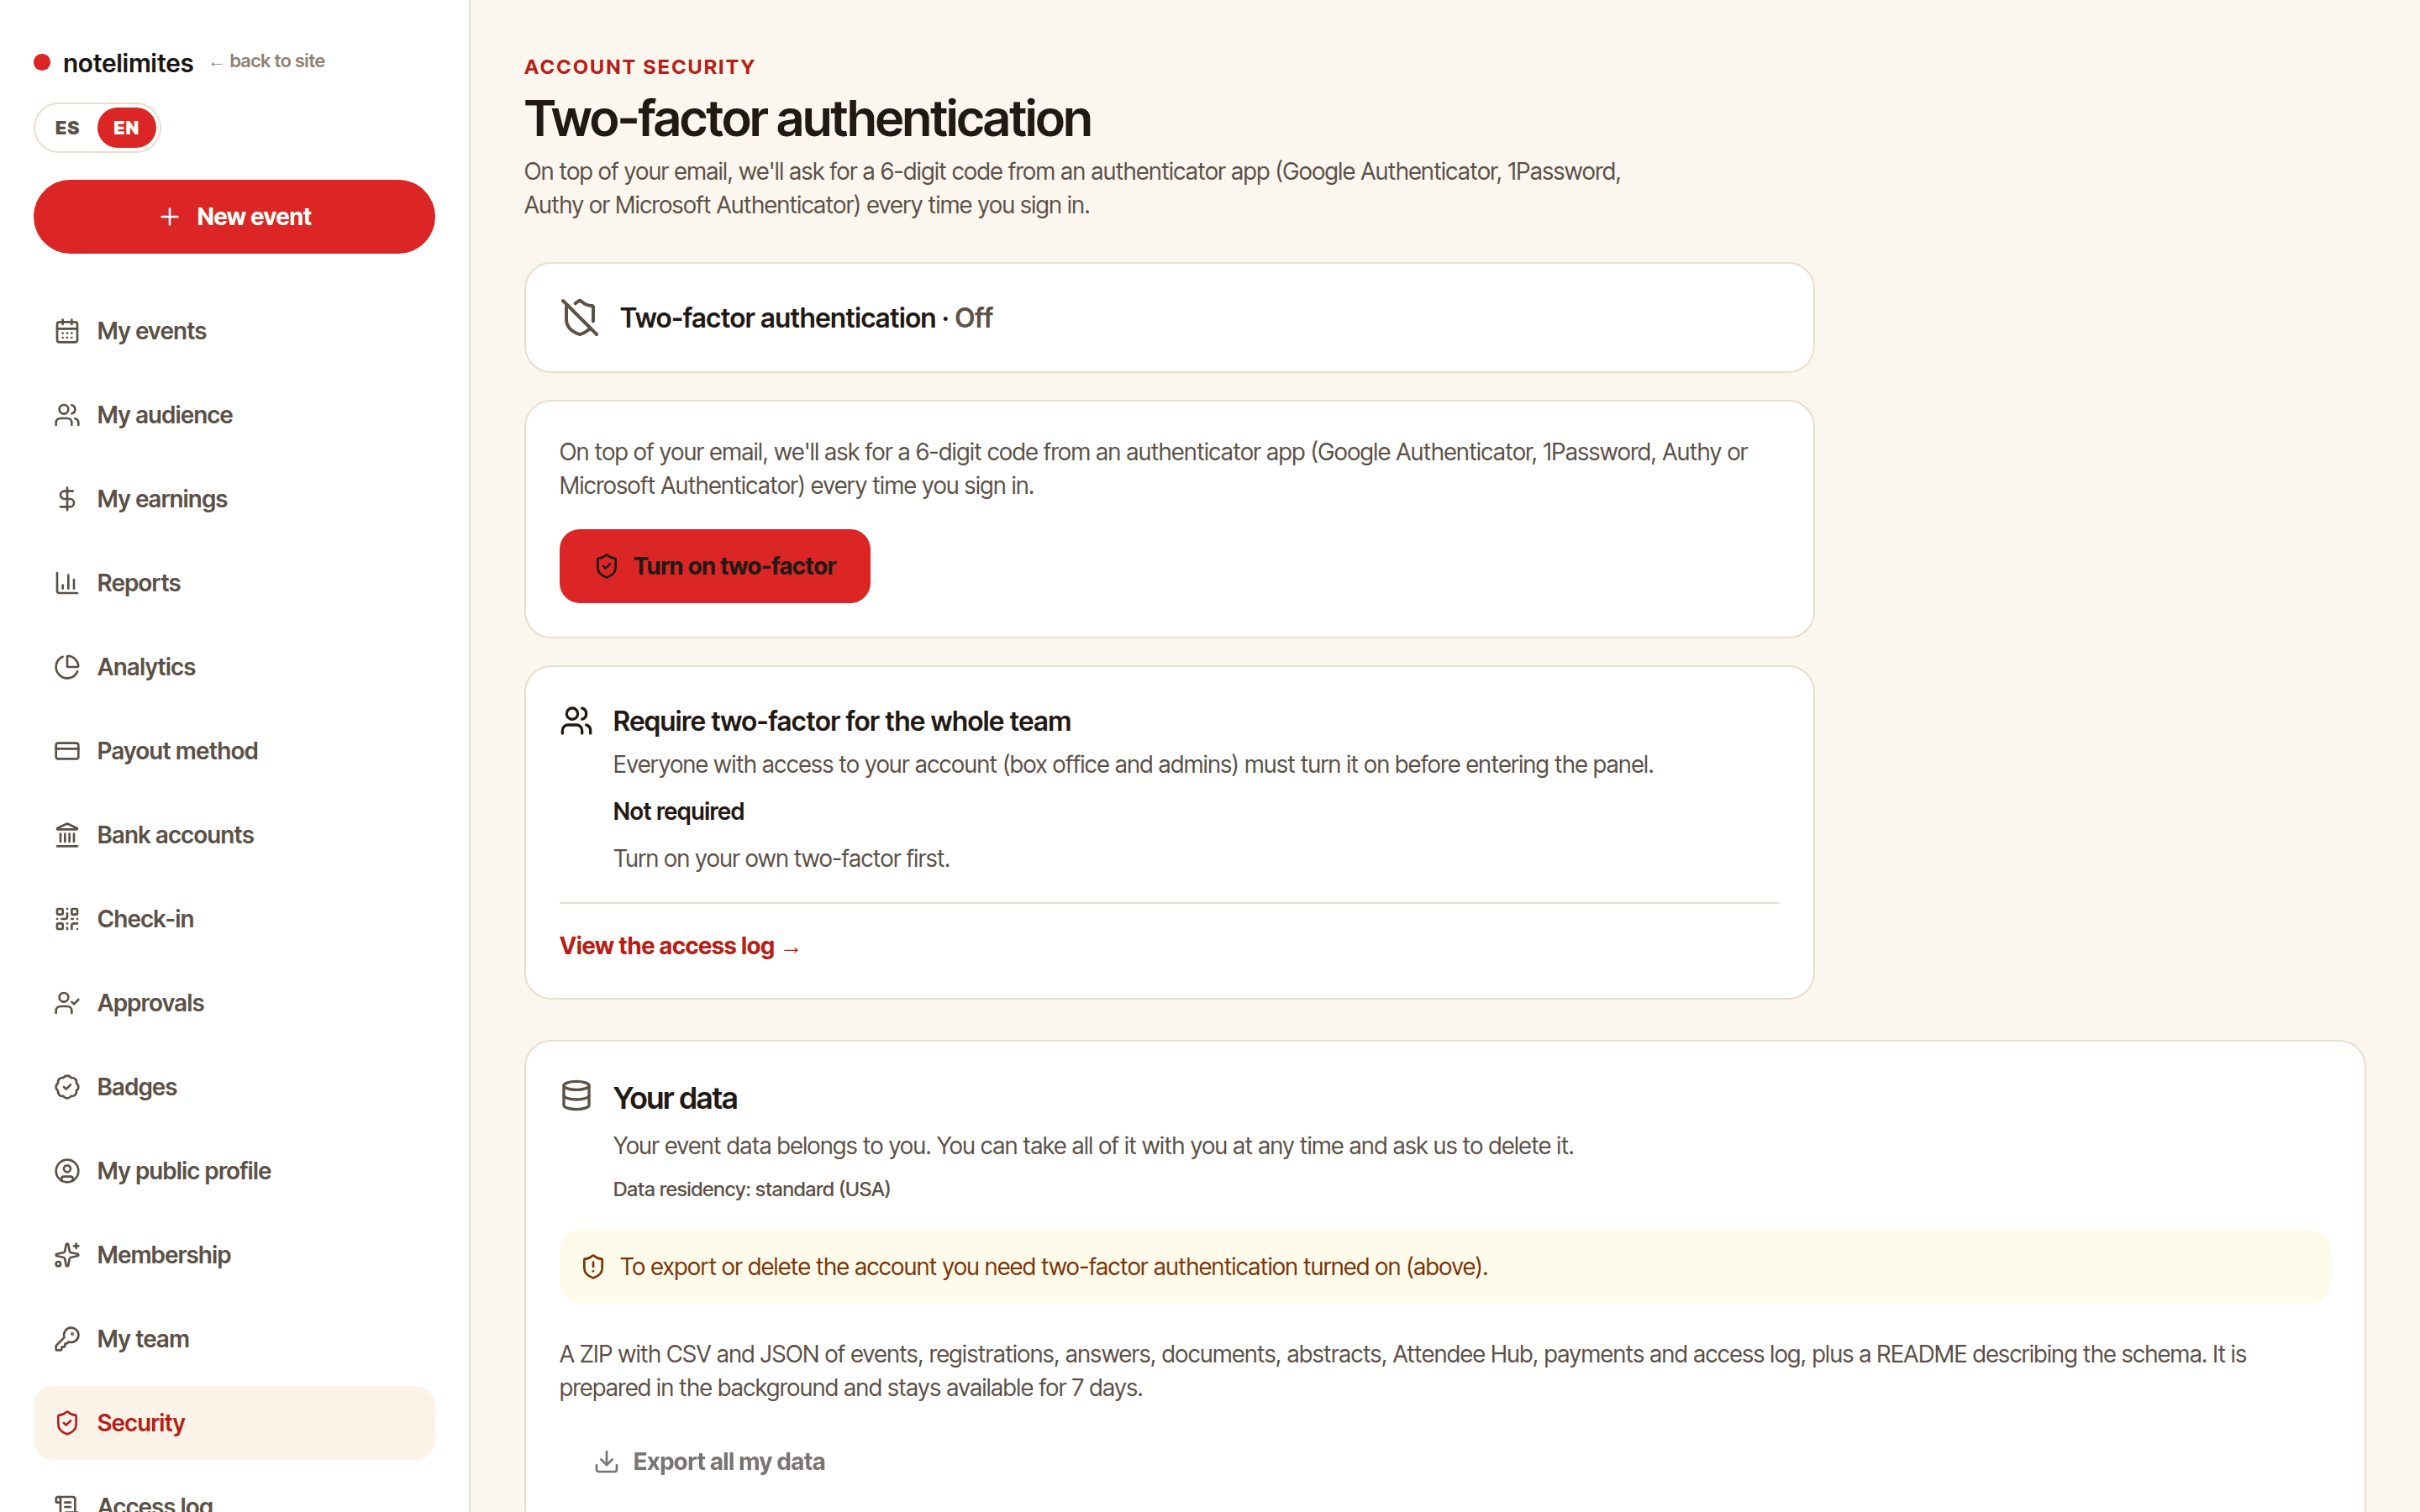
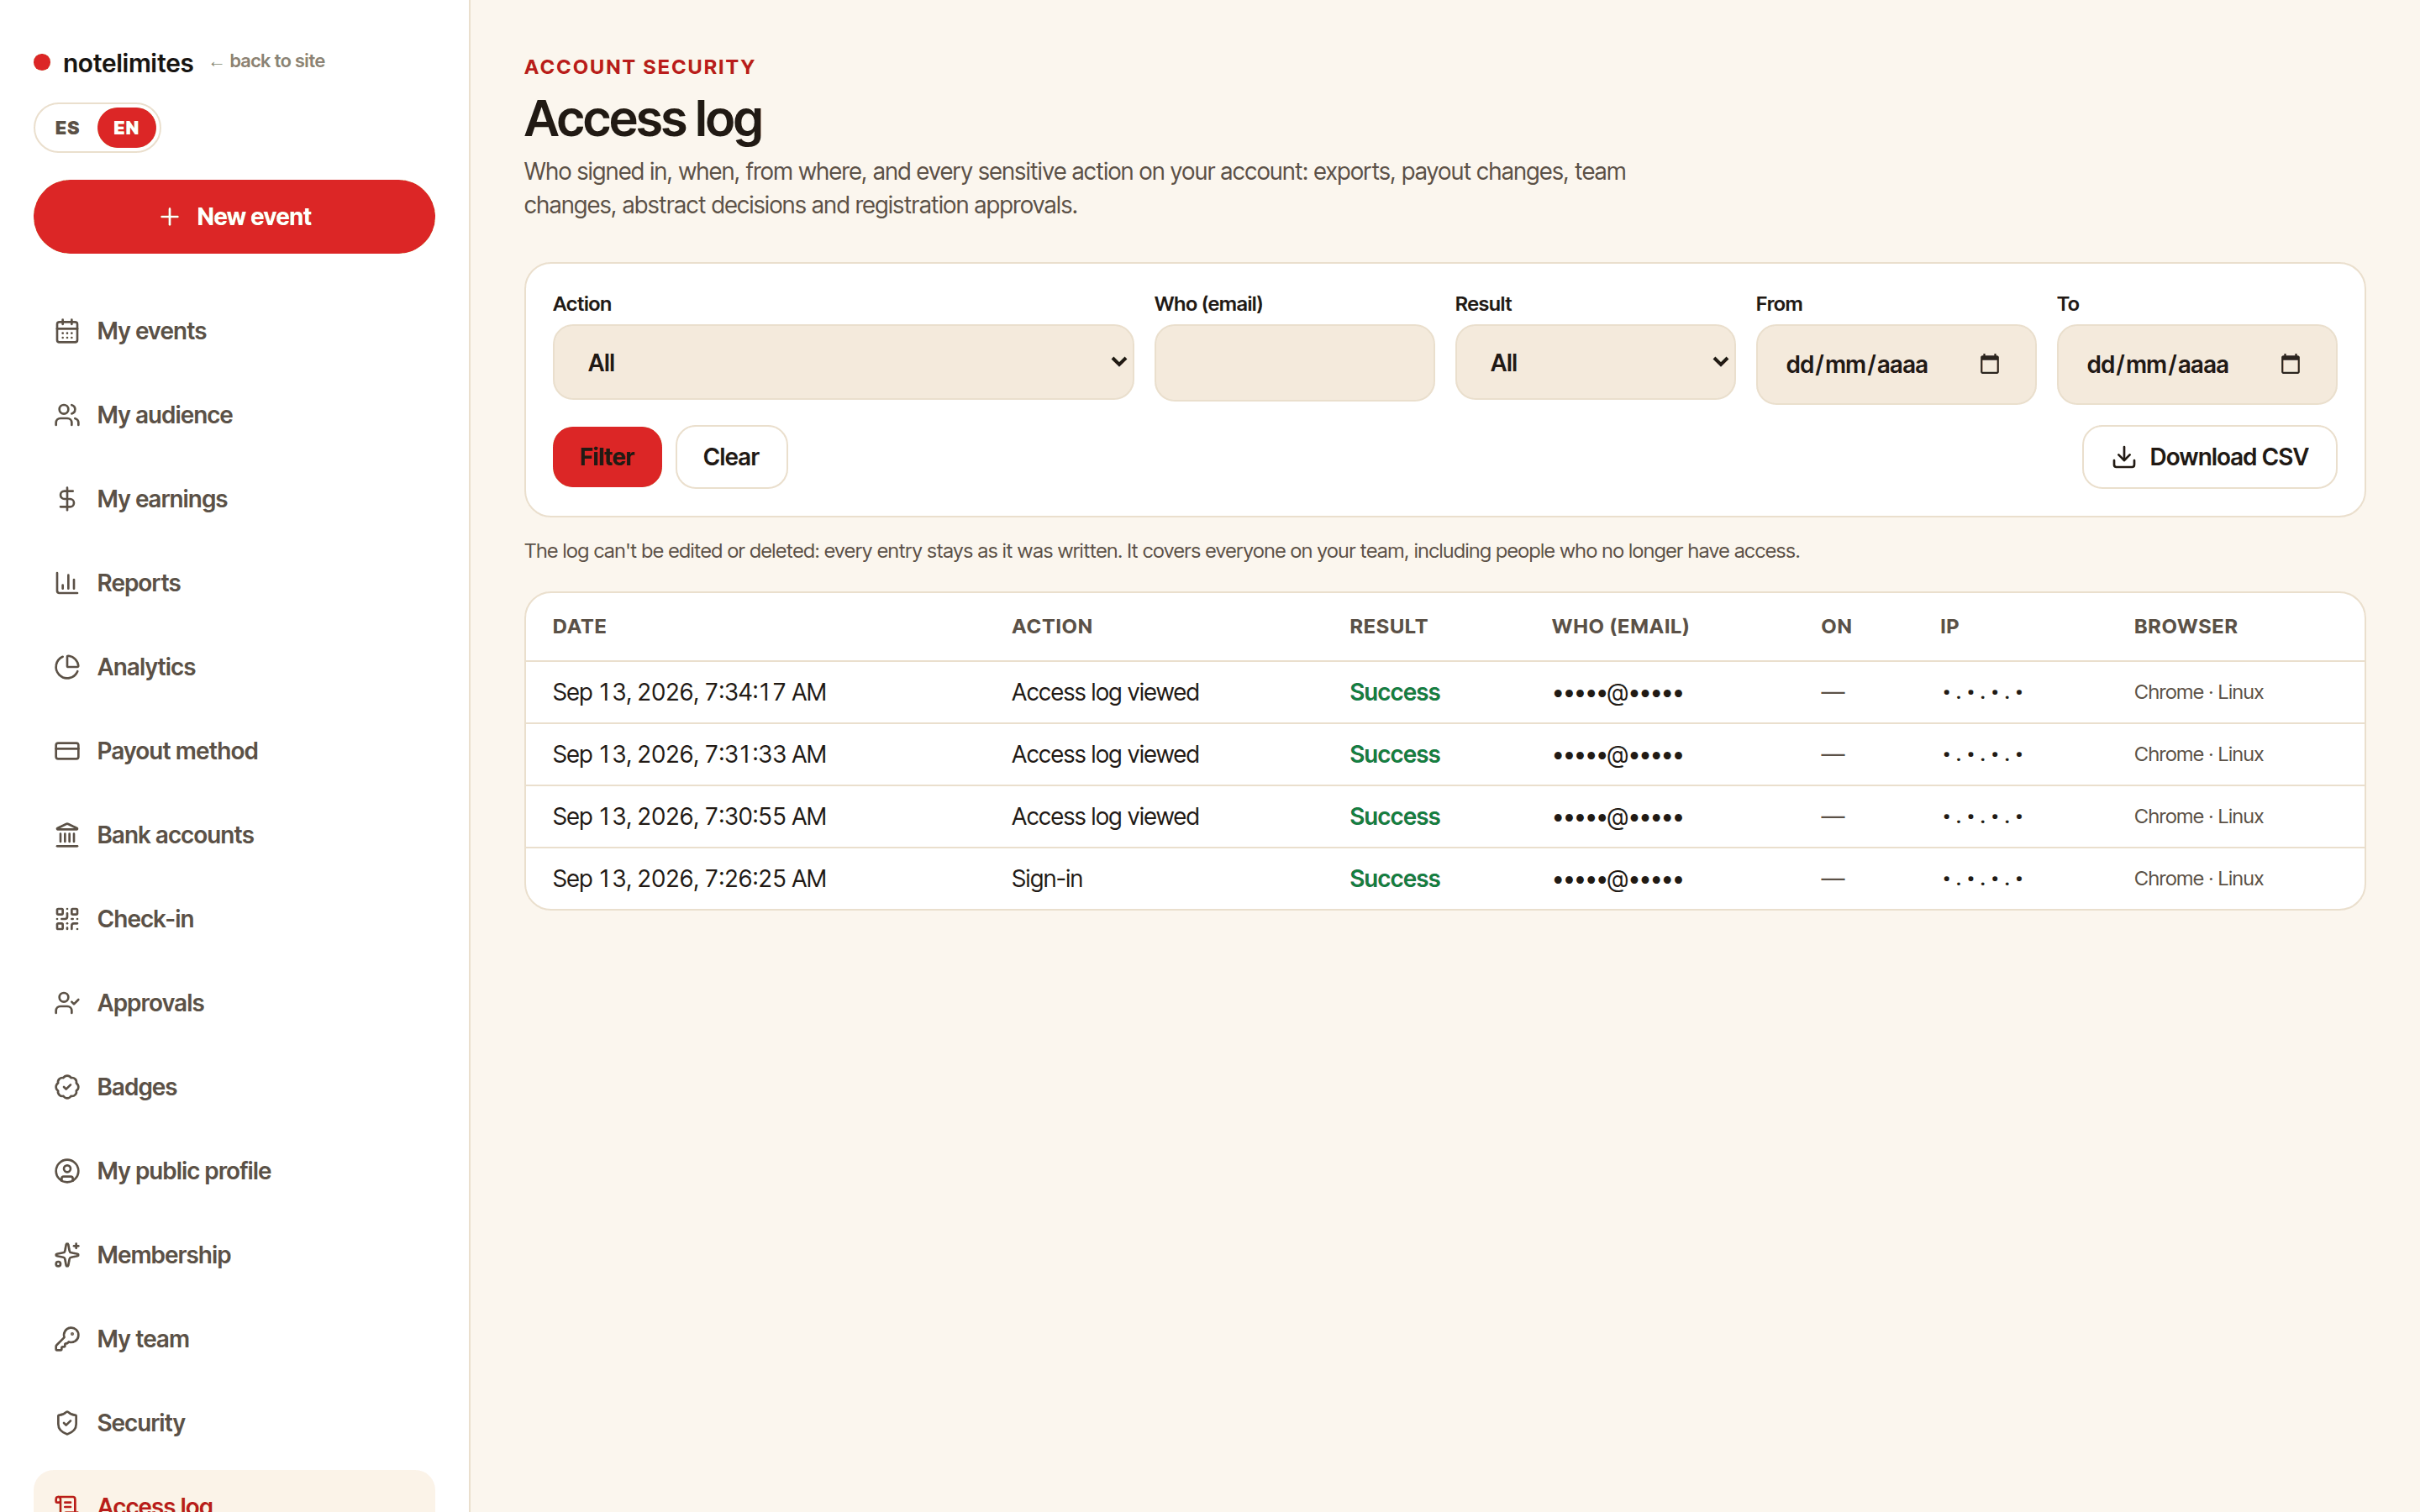
Access log
Who signed in, when, and what they did with the data.
Where: Dashboard › Access log
- Only the owner sees it. It records sign-ins and sign-outs, two-factor events, team changes, exports, document downloads, payout changes and decisions.
- Nobody can edit or delete an access log entry.
- Filter by action, person, result and dates, and download it as CSV.
Support and emergencies
Open tickets, follow them and alert the on-call team.
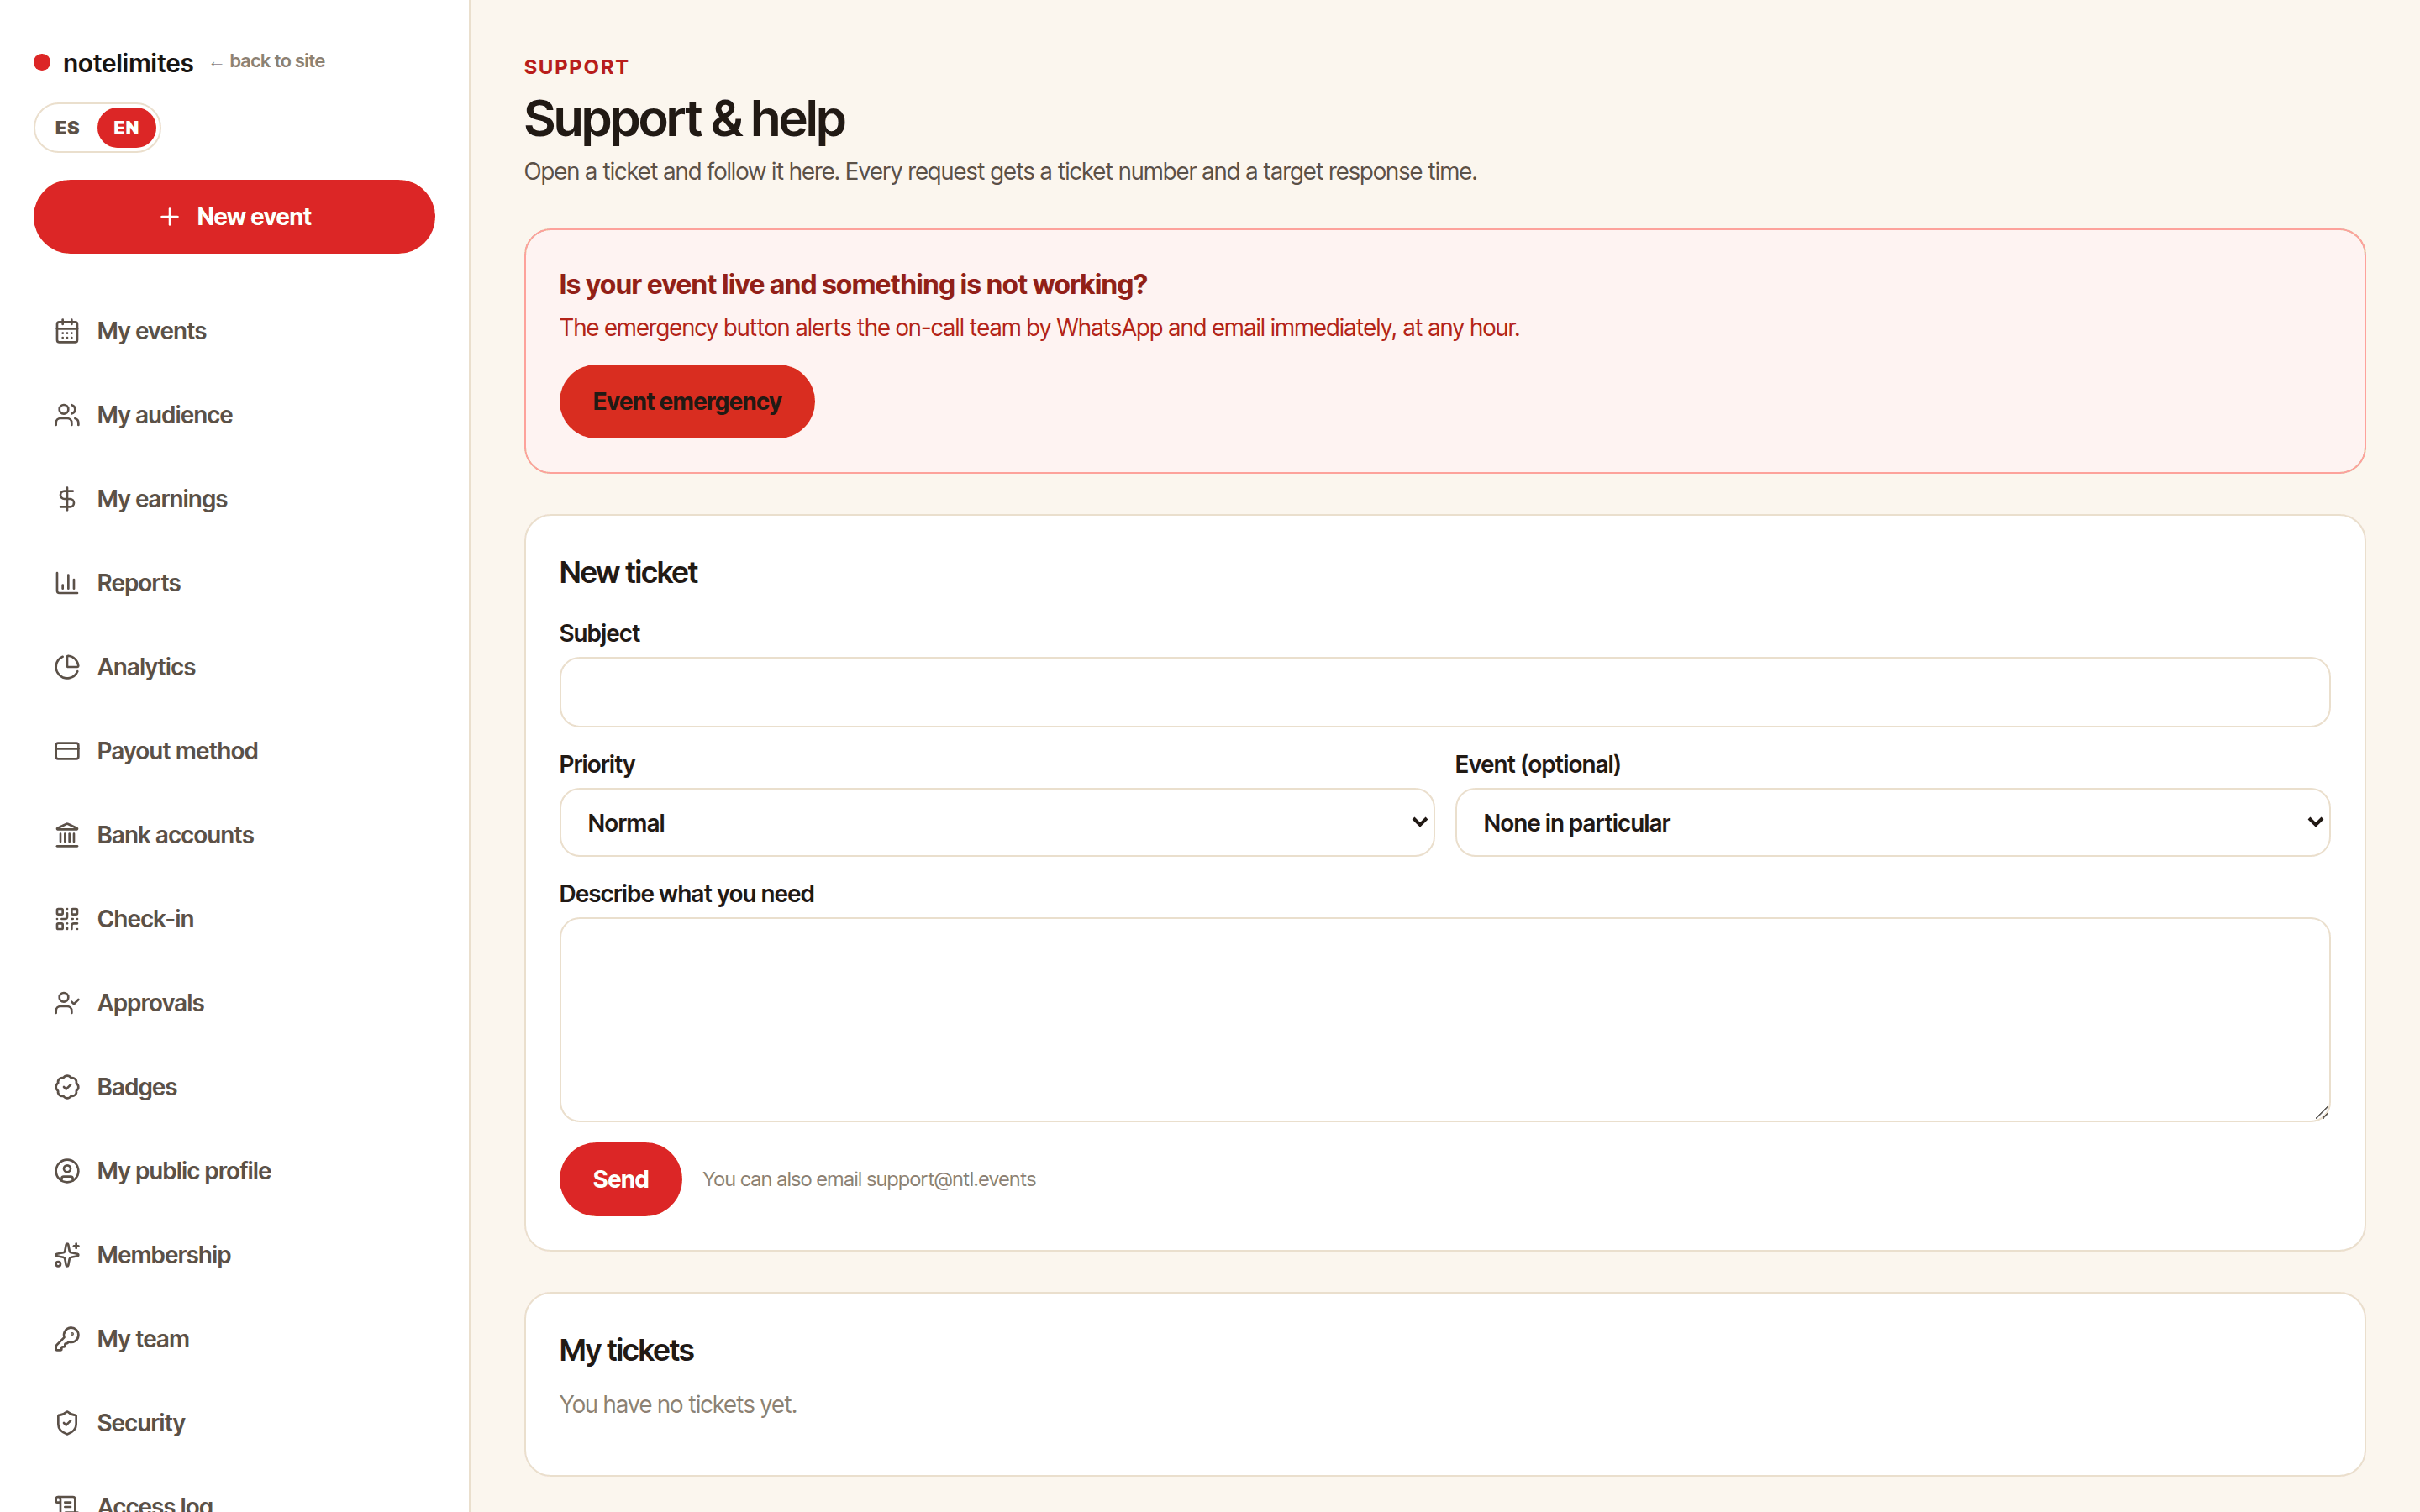
Where: Dashboard › Support
- In «Support» open a ticket with normal or high priority; you receive an NTL-XXXXX ticket number by email.
- You can also email support@ntl.events: the email opens the ticket and your replies are added to the same thread.
- If the event is live and something is not working, use «Event emergency»: it alerts the on-call team by WhatsApp and email immediately, at any hour.
- When the ticket is closed we ask you to rate the support from 1 to 5.